Mi5 Double O-Ring Shock build
Time for one of the first in some build tips for the Mi5 – Double O-ring shocks.
Now, whilst the standard kit build is pretty good anyway, I’m a big fan of using two o-rings in the bottom of the shocks. The reason is two fold. Firstly, there is a better seal, simply because you have double the surface area sealing on the shaft. This helps in keeping the shock more consistent, and the gap between rebuilds longer 🙂 Secondly, the double o-ring setup does seem to give a little more traction, which is especially helpful for the lower grip tracks I race on out here.
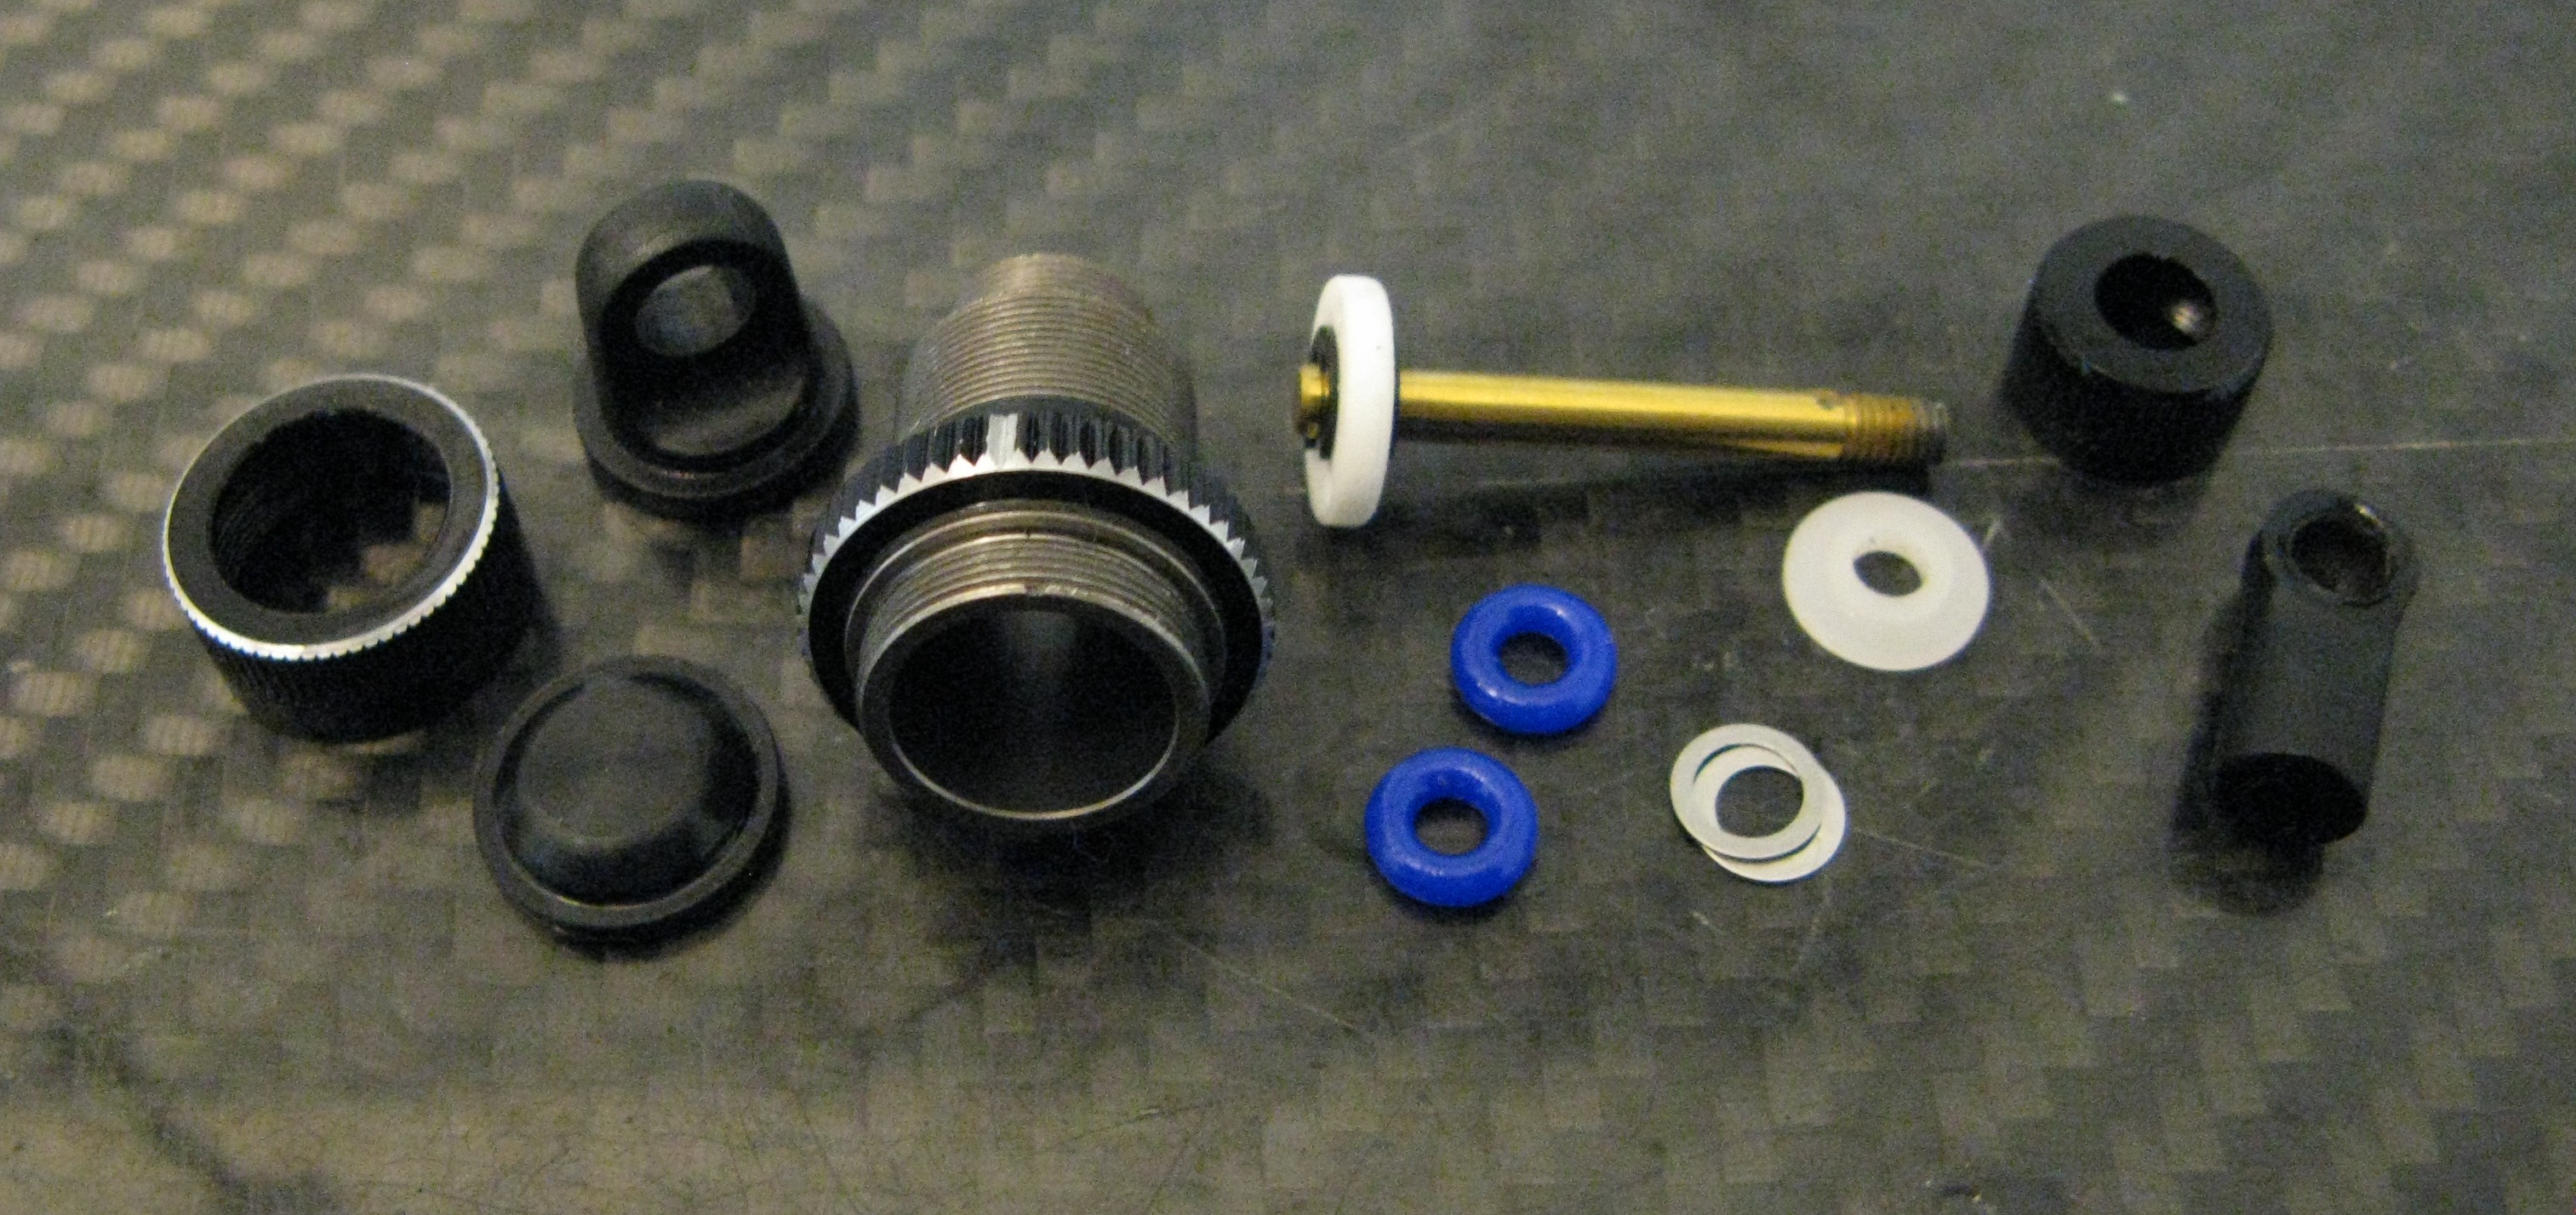
So, before we start, I do actually switch out a couple of parts from my shocks, more out of force of habit than anything. I actually use Tamiya black bladders (#53576) and blue competition O-rings (#42137). I’ve used these parts in multiple shock builds over the years, and they have been faultless. Now you obviously will need 8 O-rings to complete all four shocks. I also strongly suggest in getting some 4mm shims in various thickness’ to aid in shimming the O-rings. (Tamiya #53586 is ideal for this)
Ready to build…
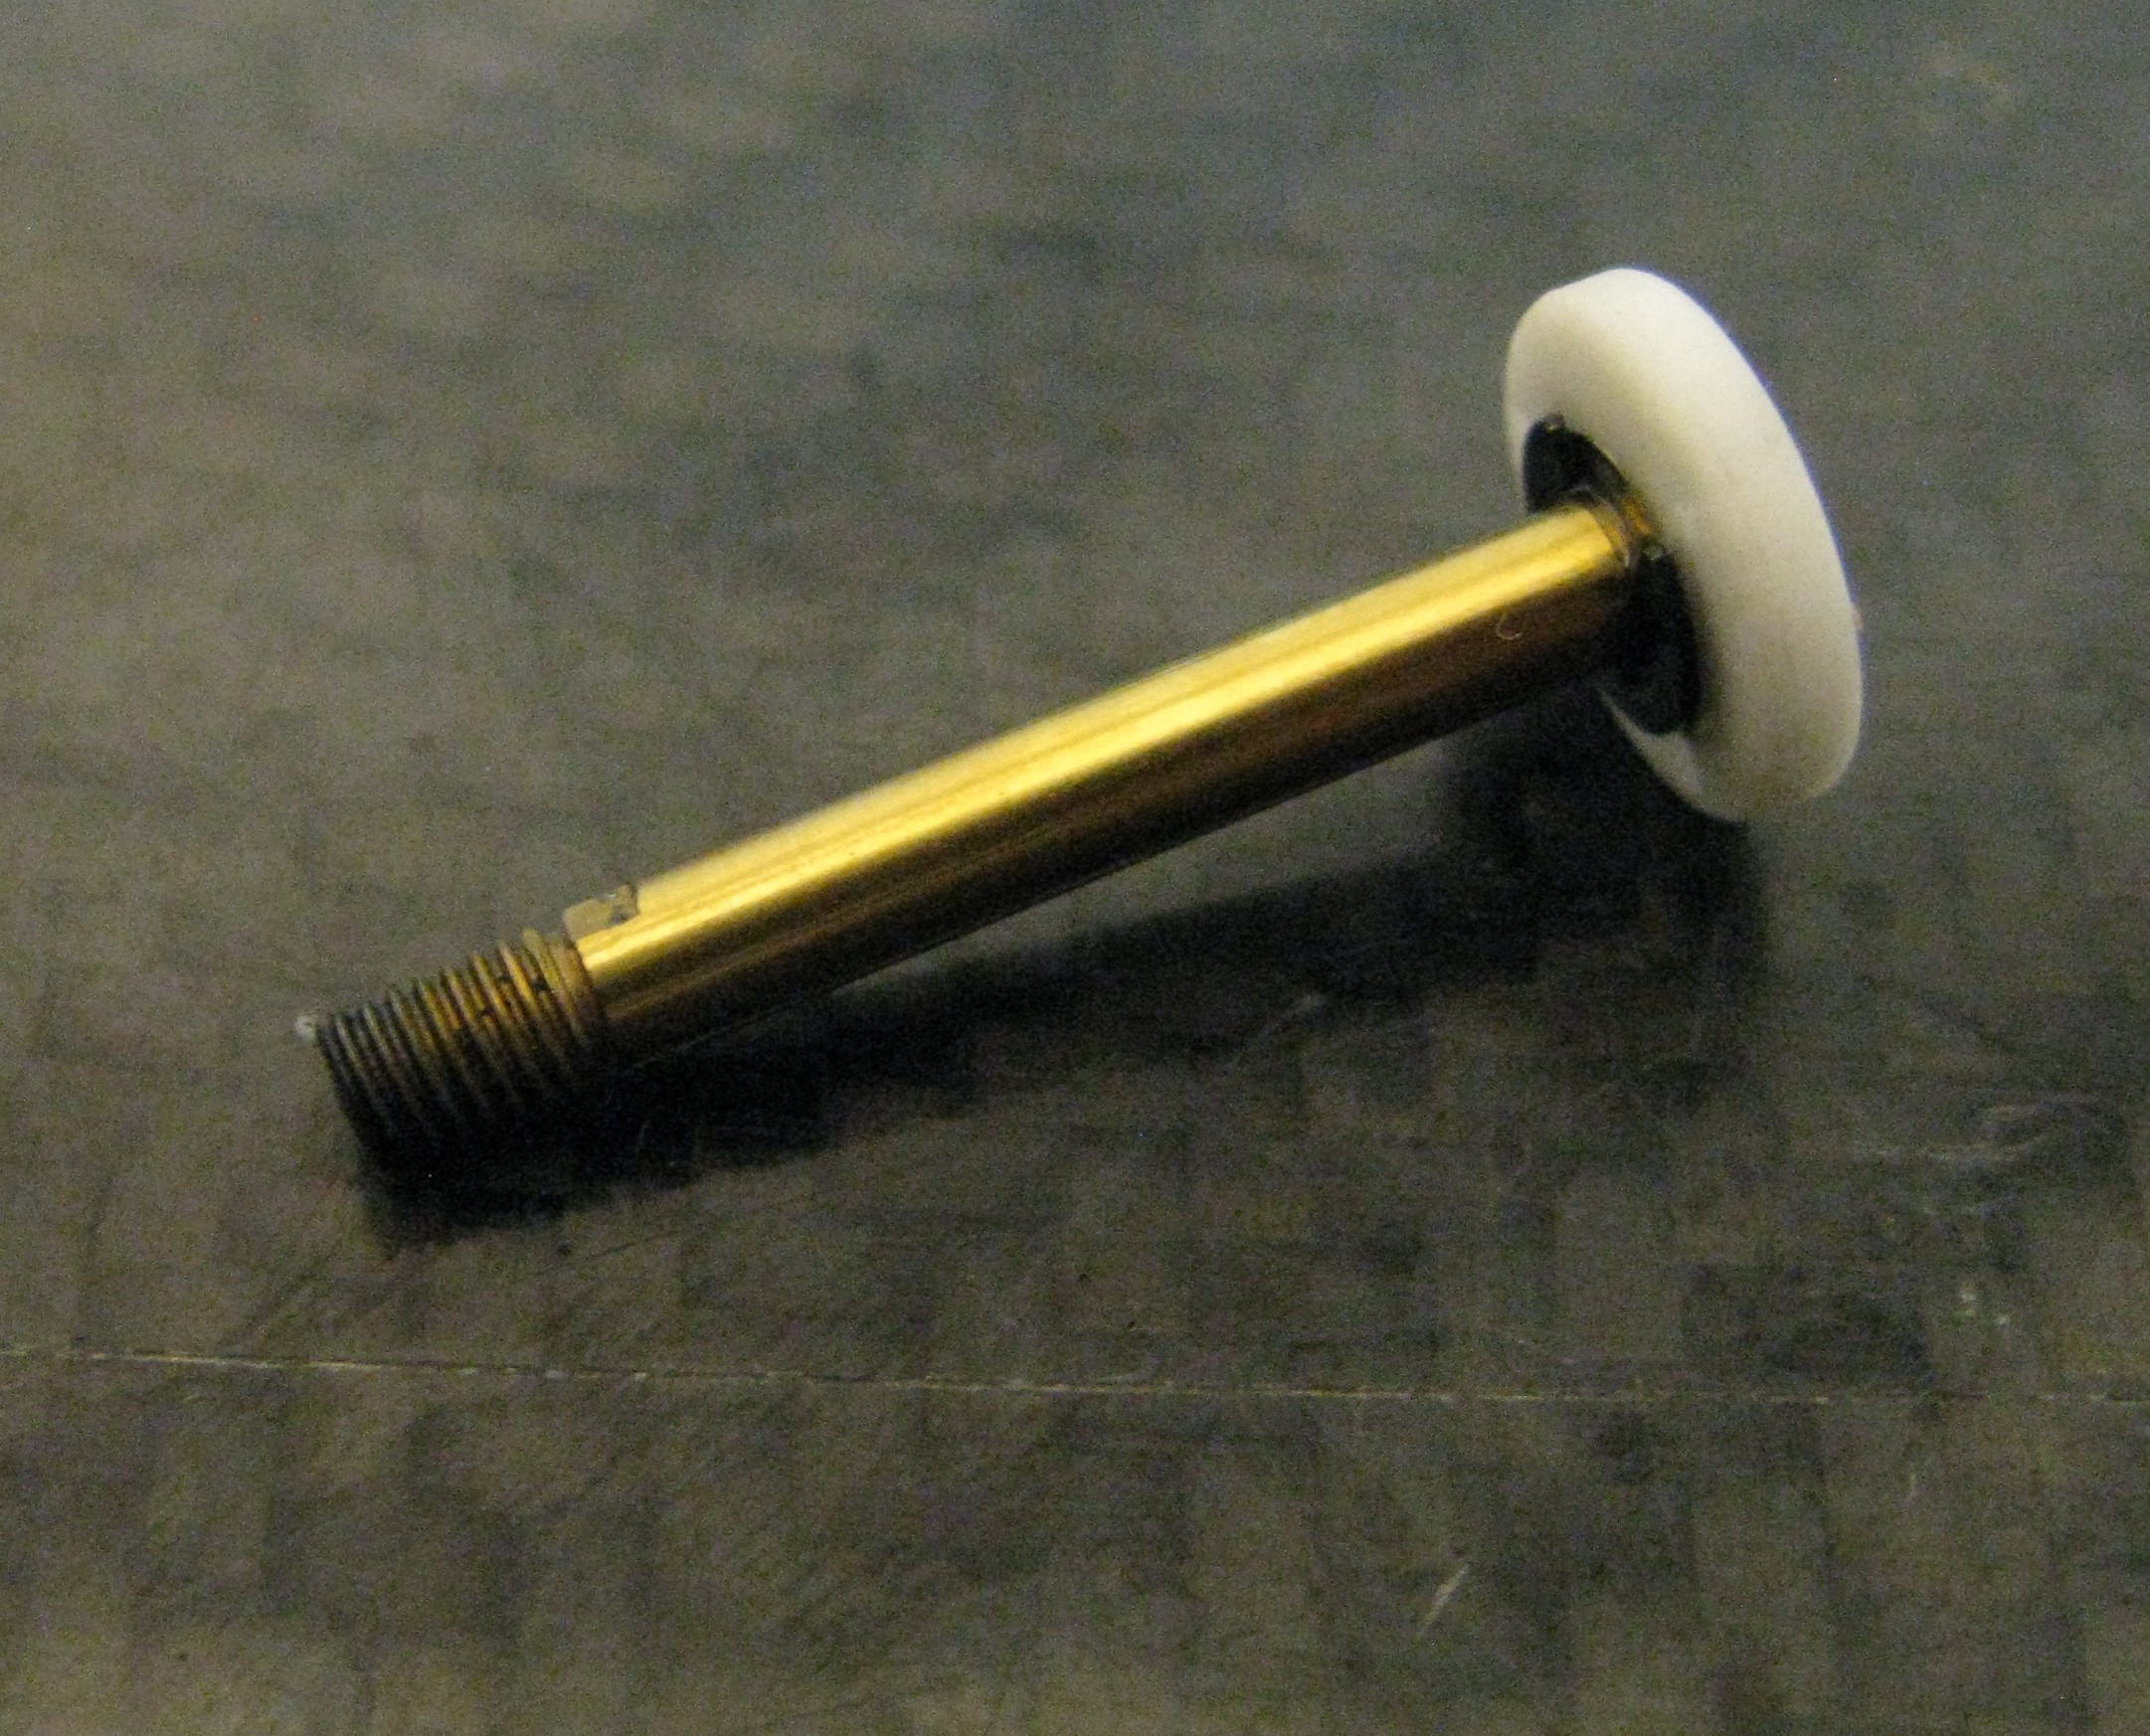
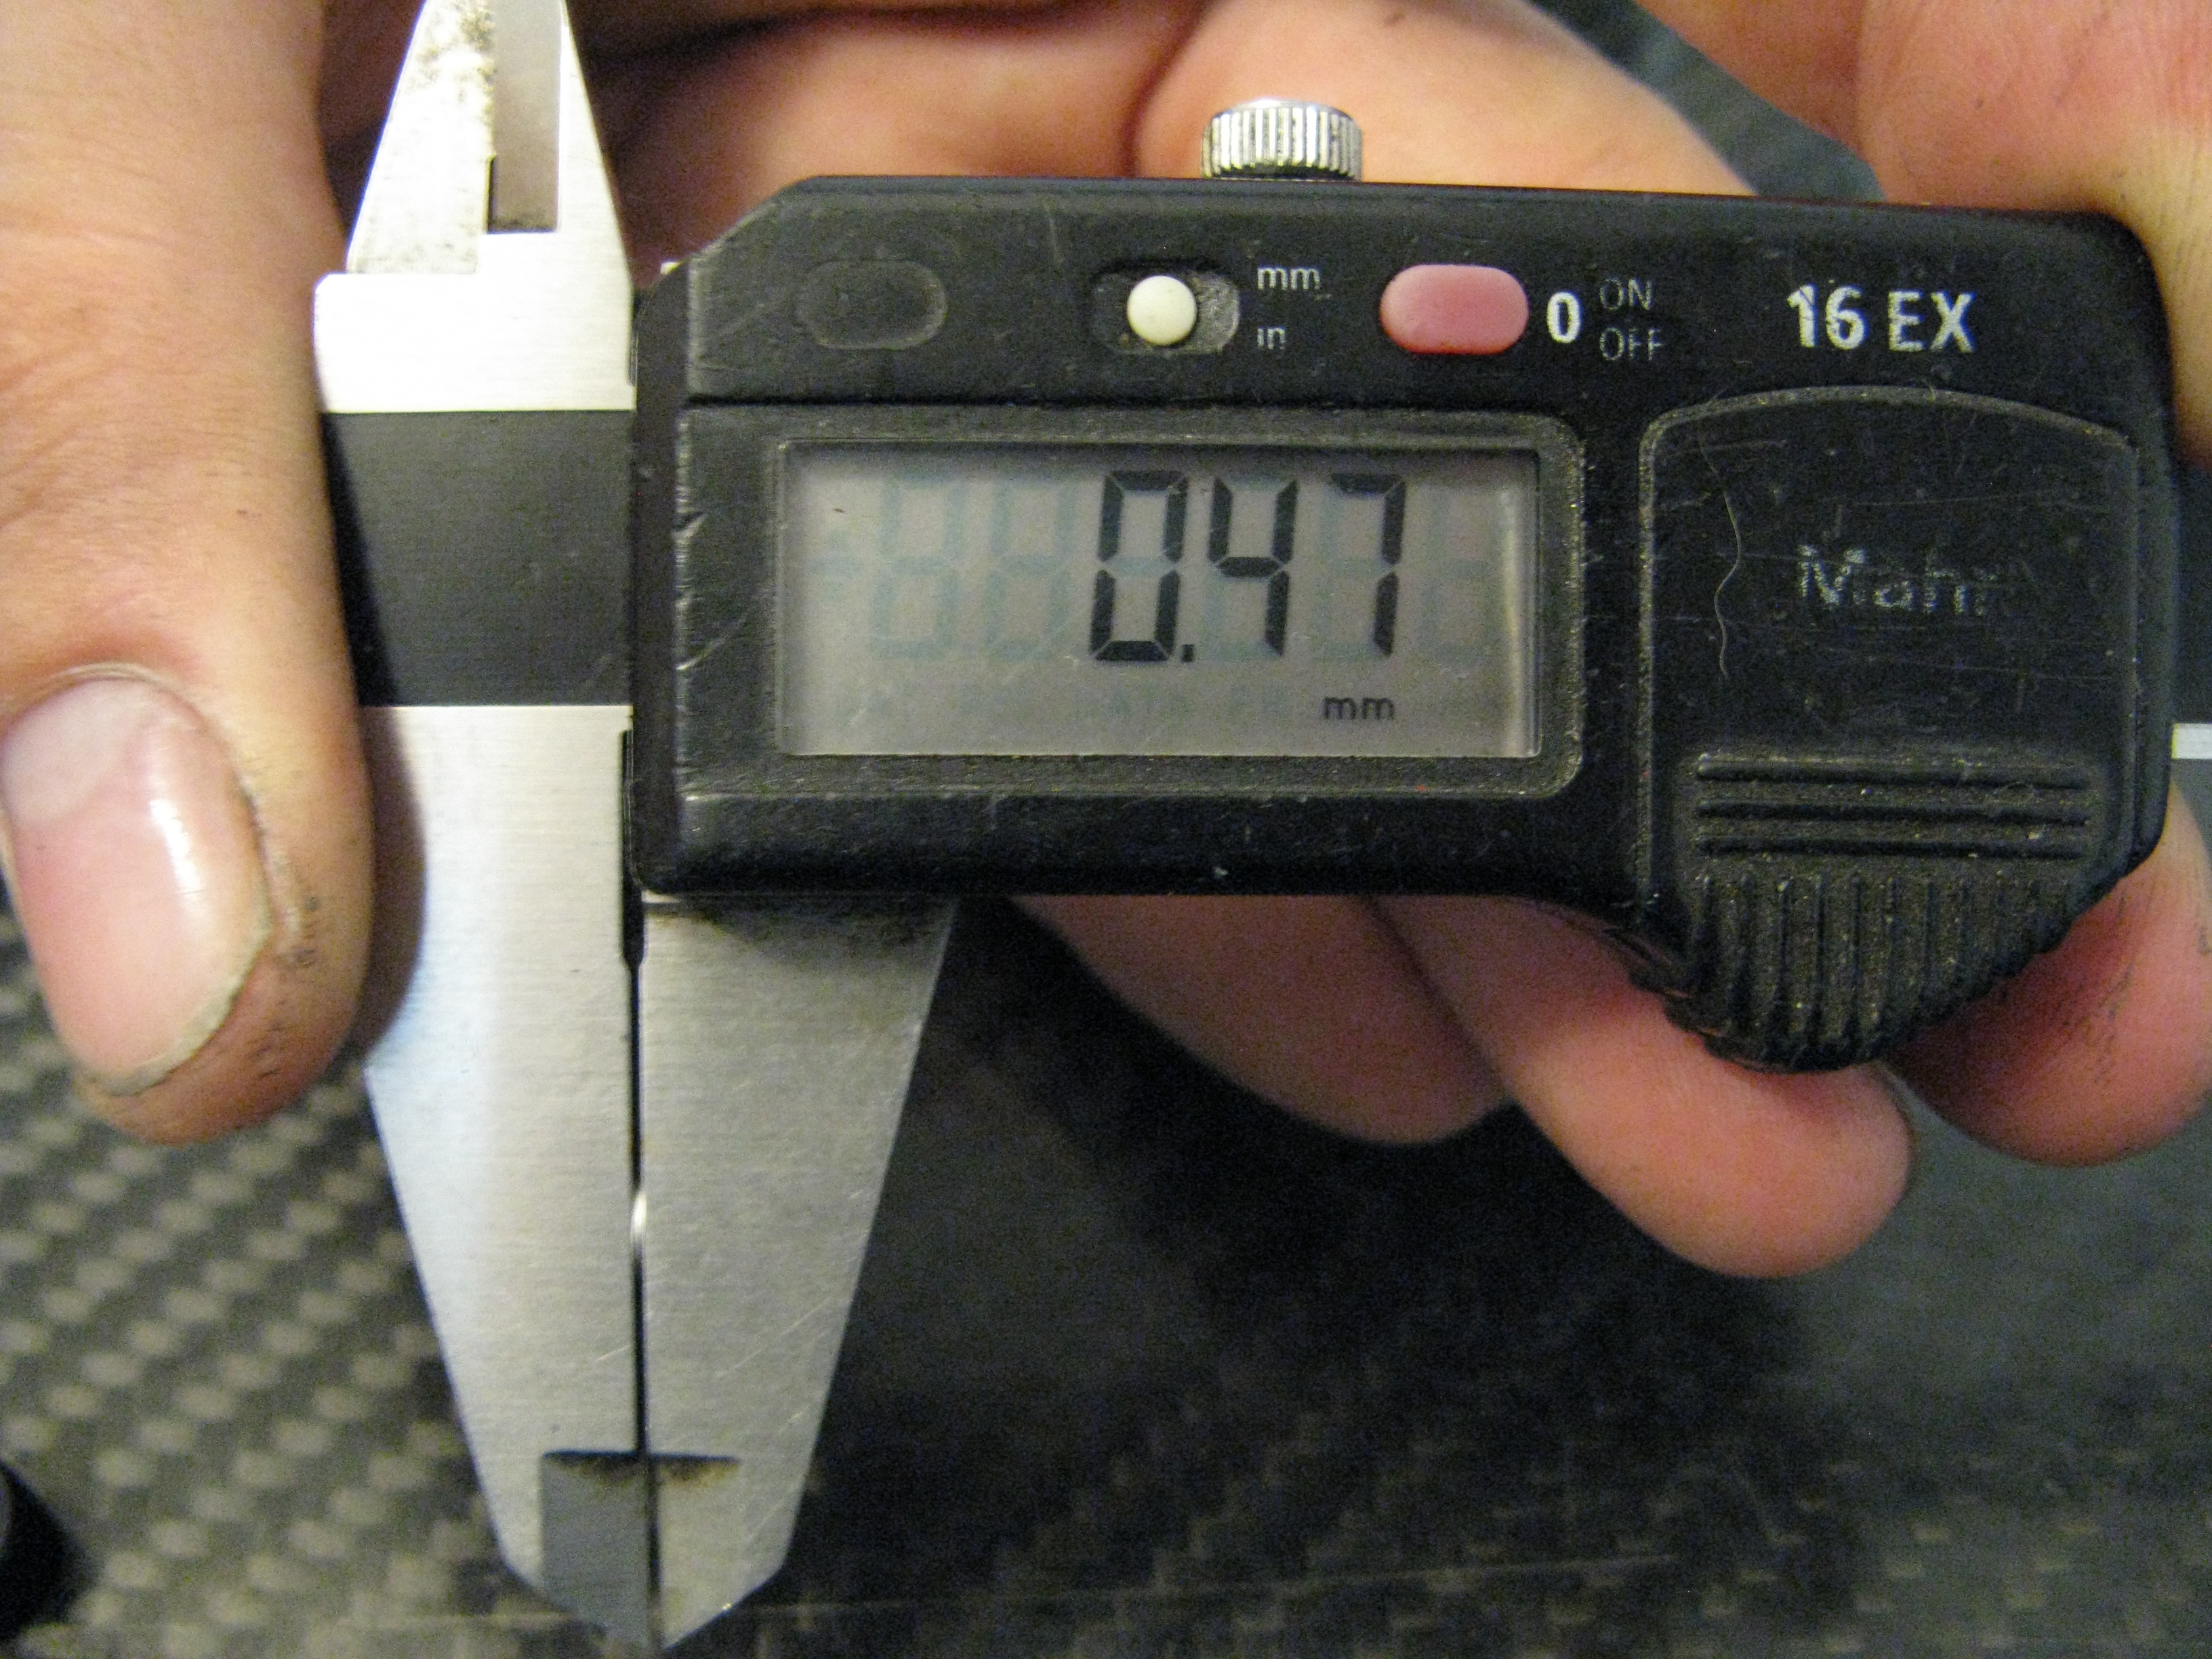
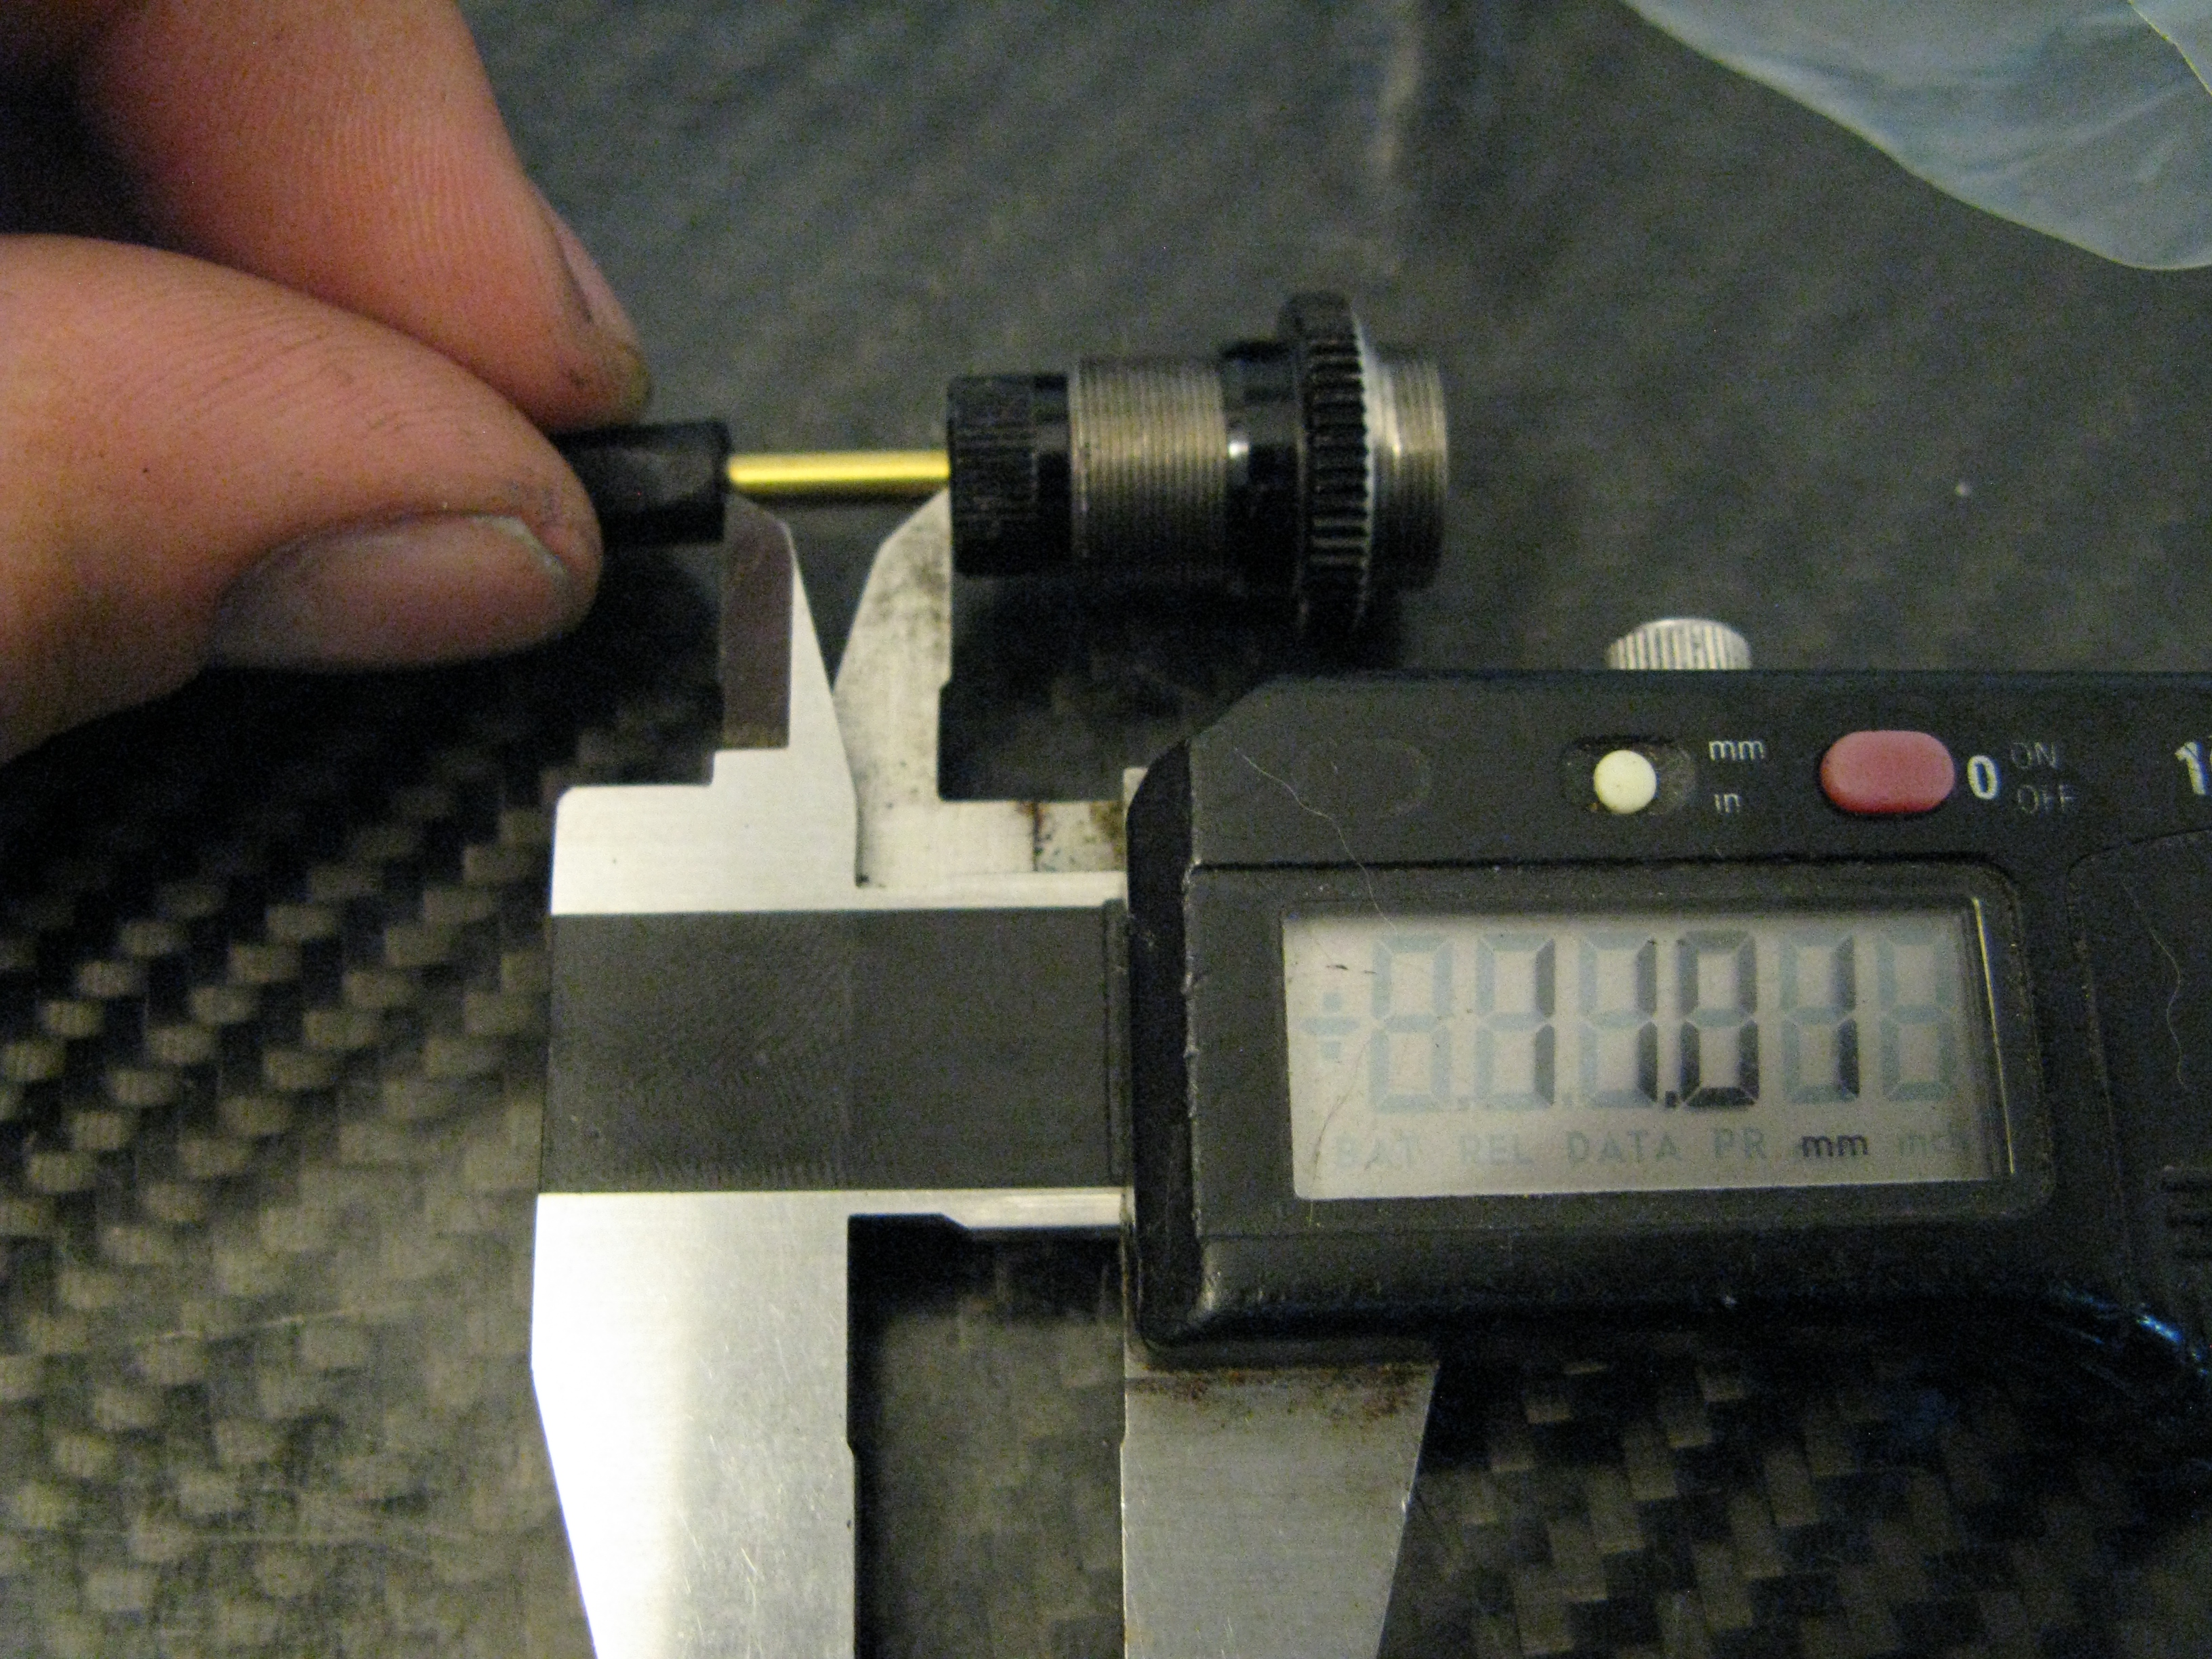
First thing to do, is shorten up the shock shaft. You’ll want to remove 3mm from the threaded end. This helps to make the overall shock length a bit shorter, and allow for easier setting of rebound (with a long shaft, the piston can hit the bladder when trying to get low rebound levels), and getting the piston in the right place in the shock body.
Cut your shaft…
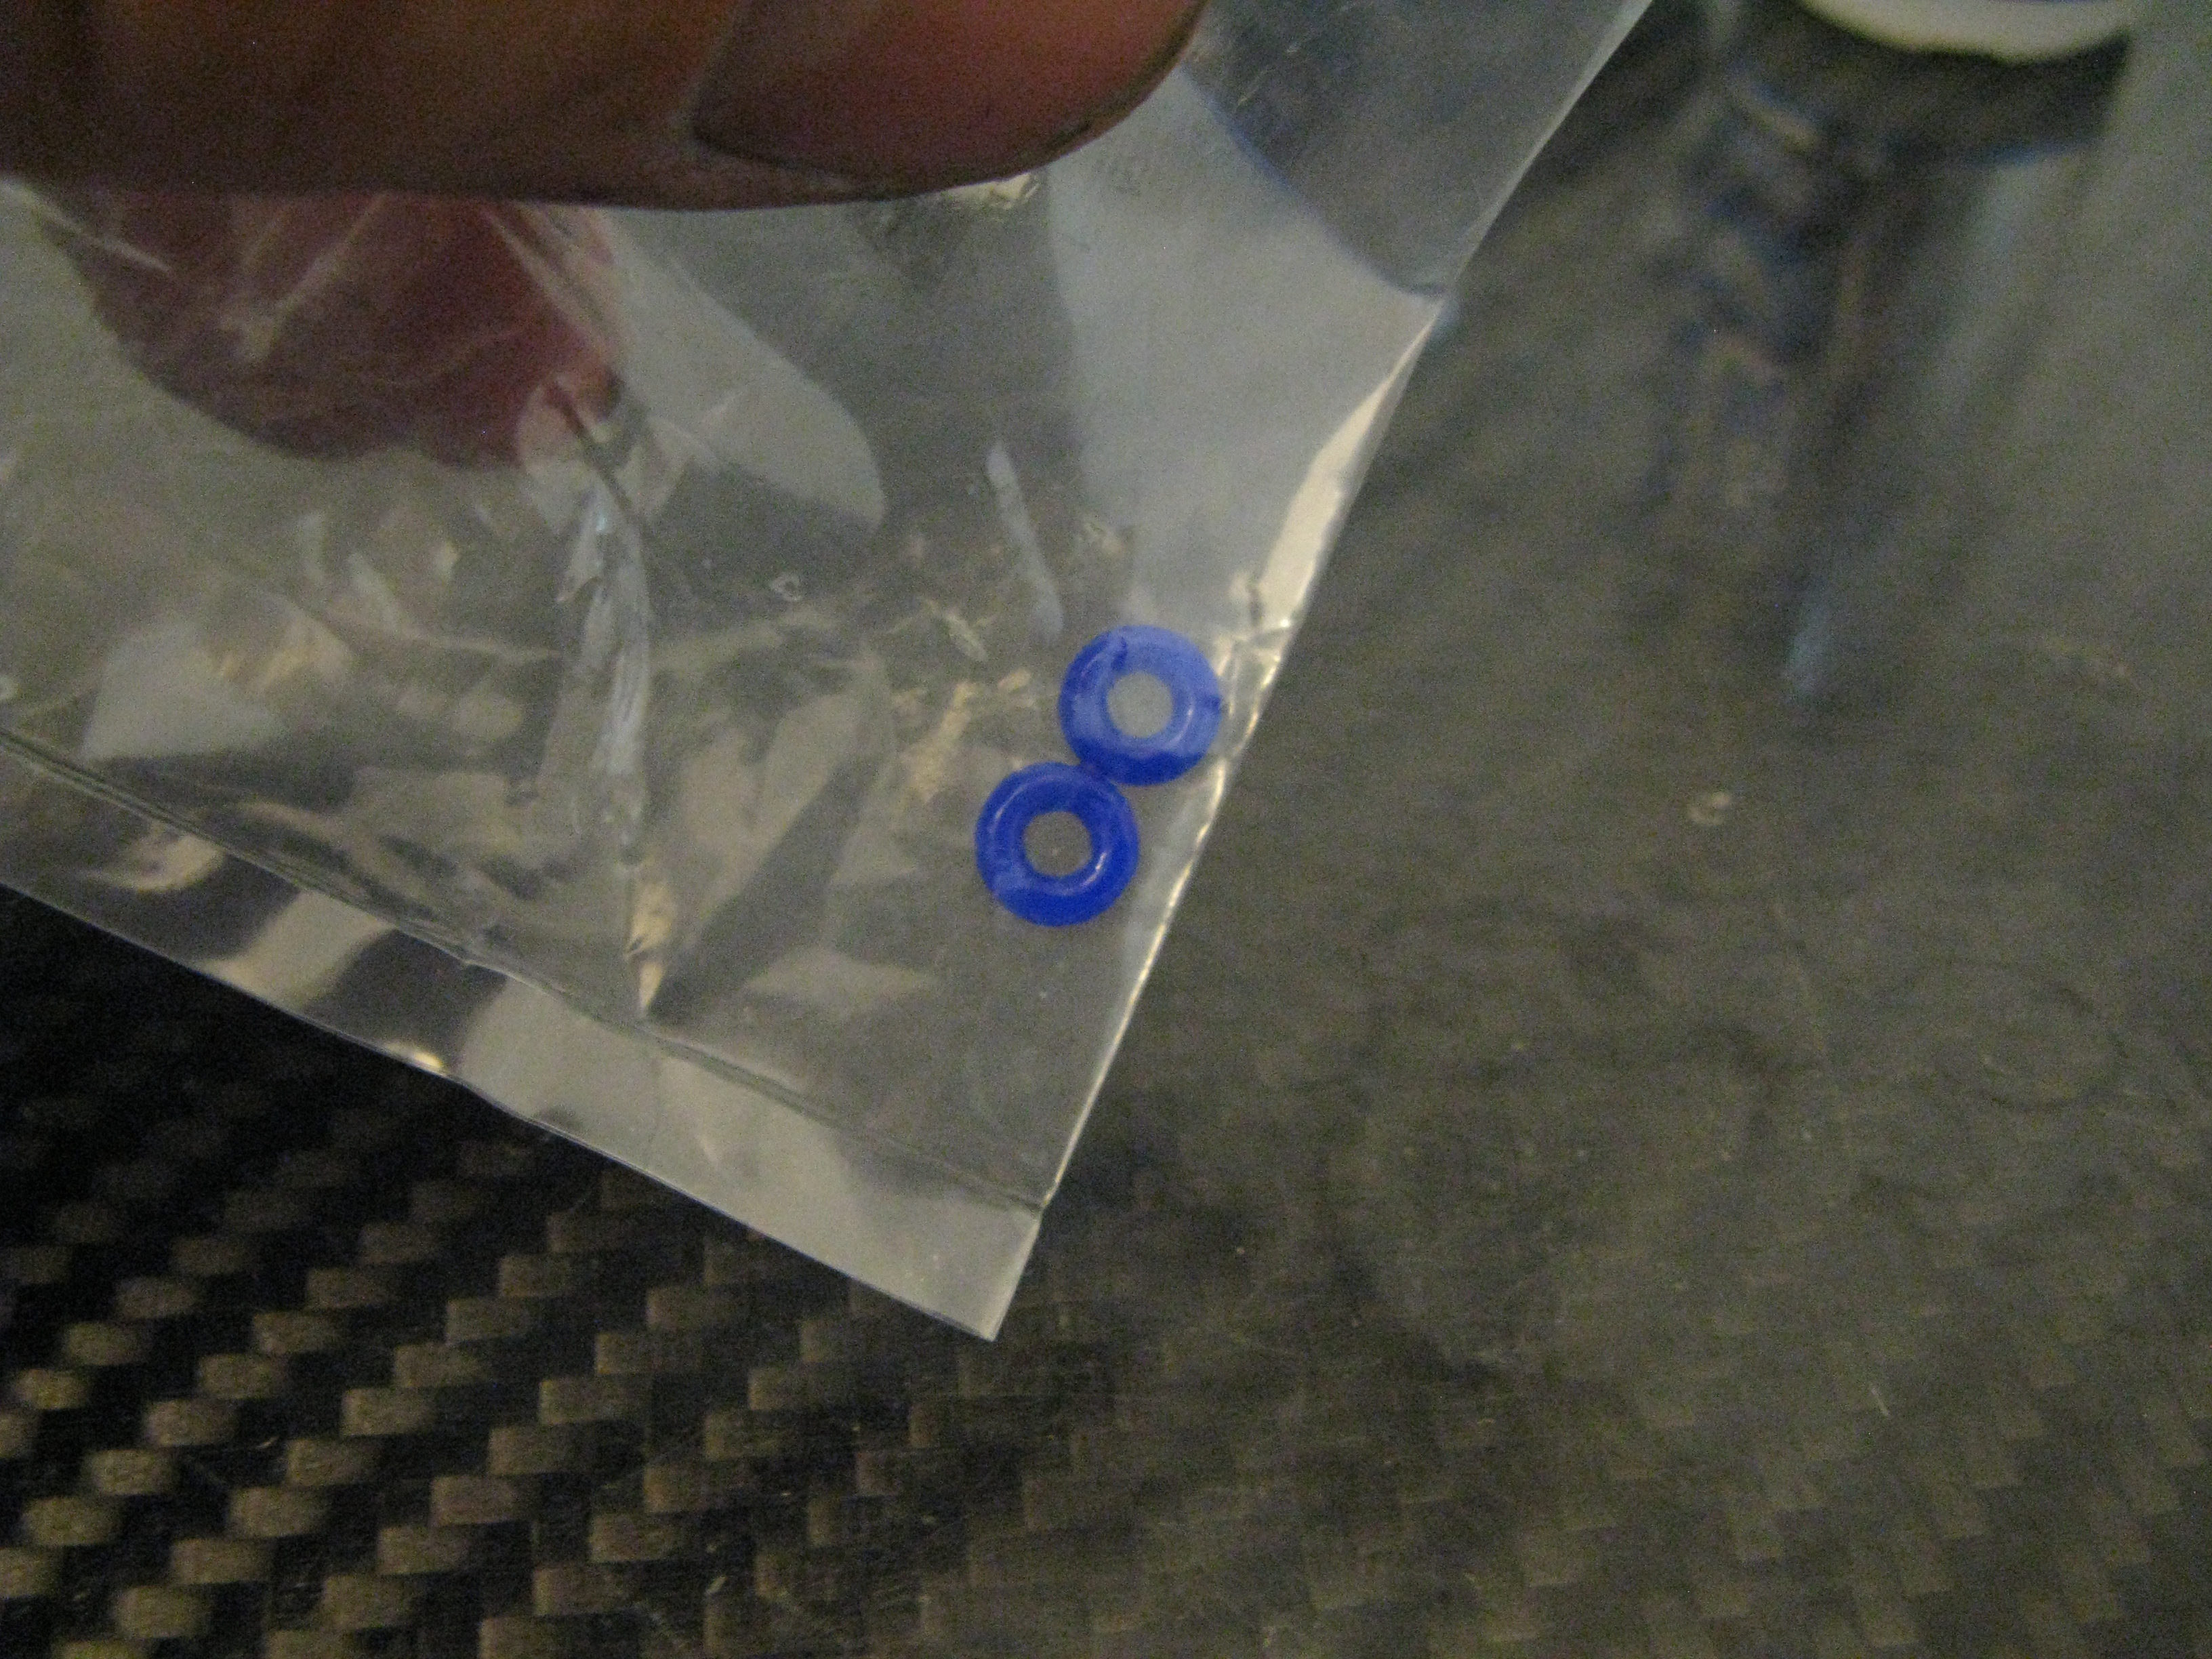
With that done, take the o-rings, and give them a quick soak in the oil you’ll be using to fill up later. Some people like to use green slime or a similar other grease, but I prefer to use what is going to be going in the shock, as inevitably, some grease will end up in the main body and the oil… not good!
Nicely oiled
I mentioned shims above, and this is a key point to make sure that the shocks don’t leak. Basically, the o-rings are a little thinner than the delrin spacer that gets switched out. So you need to shim up the o-rings to make up the difference in thickness. You can also use the shims to adjust the amount of pressure the o-rings put on the shaft (more shims to make the shock a little stickier, and vice versa). I’ve found 0.5mm of shims to be ideal though, not too tight to add too much stiction, but not too loose to leak. I actually use one 0.2mm, and one 0.3mm to make up the total thickness… the reason will become clear in a bit. The last point to mention is the reason for using the 4mm shims, is that then the sharp metal shims have zero chance of scrapping the nice Titanium Nitride coating off the shafts… 😉
Shimage
Next put the shaft into the main body, and then slide on the O-rings. Now here is why I use the two seperate shims, and that is too provide a divider for the O-rings. I put the 0,2mm on top (closest to the main body), with the 0.3mm between the two, and then the delrin guide on the bottom. Then screw on the bottom cap.
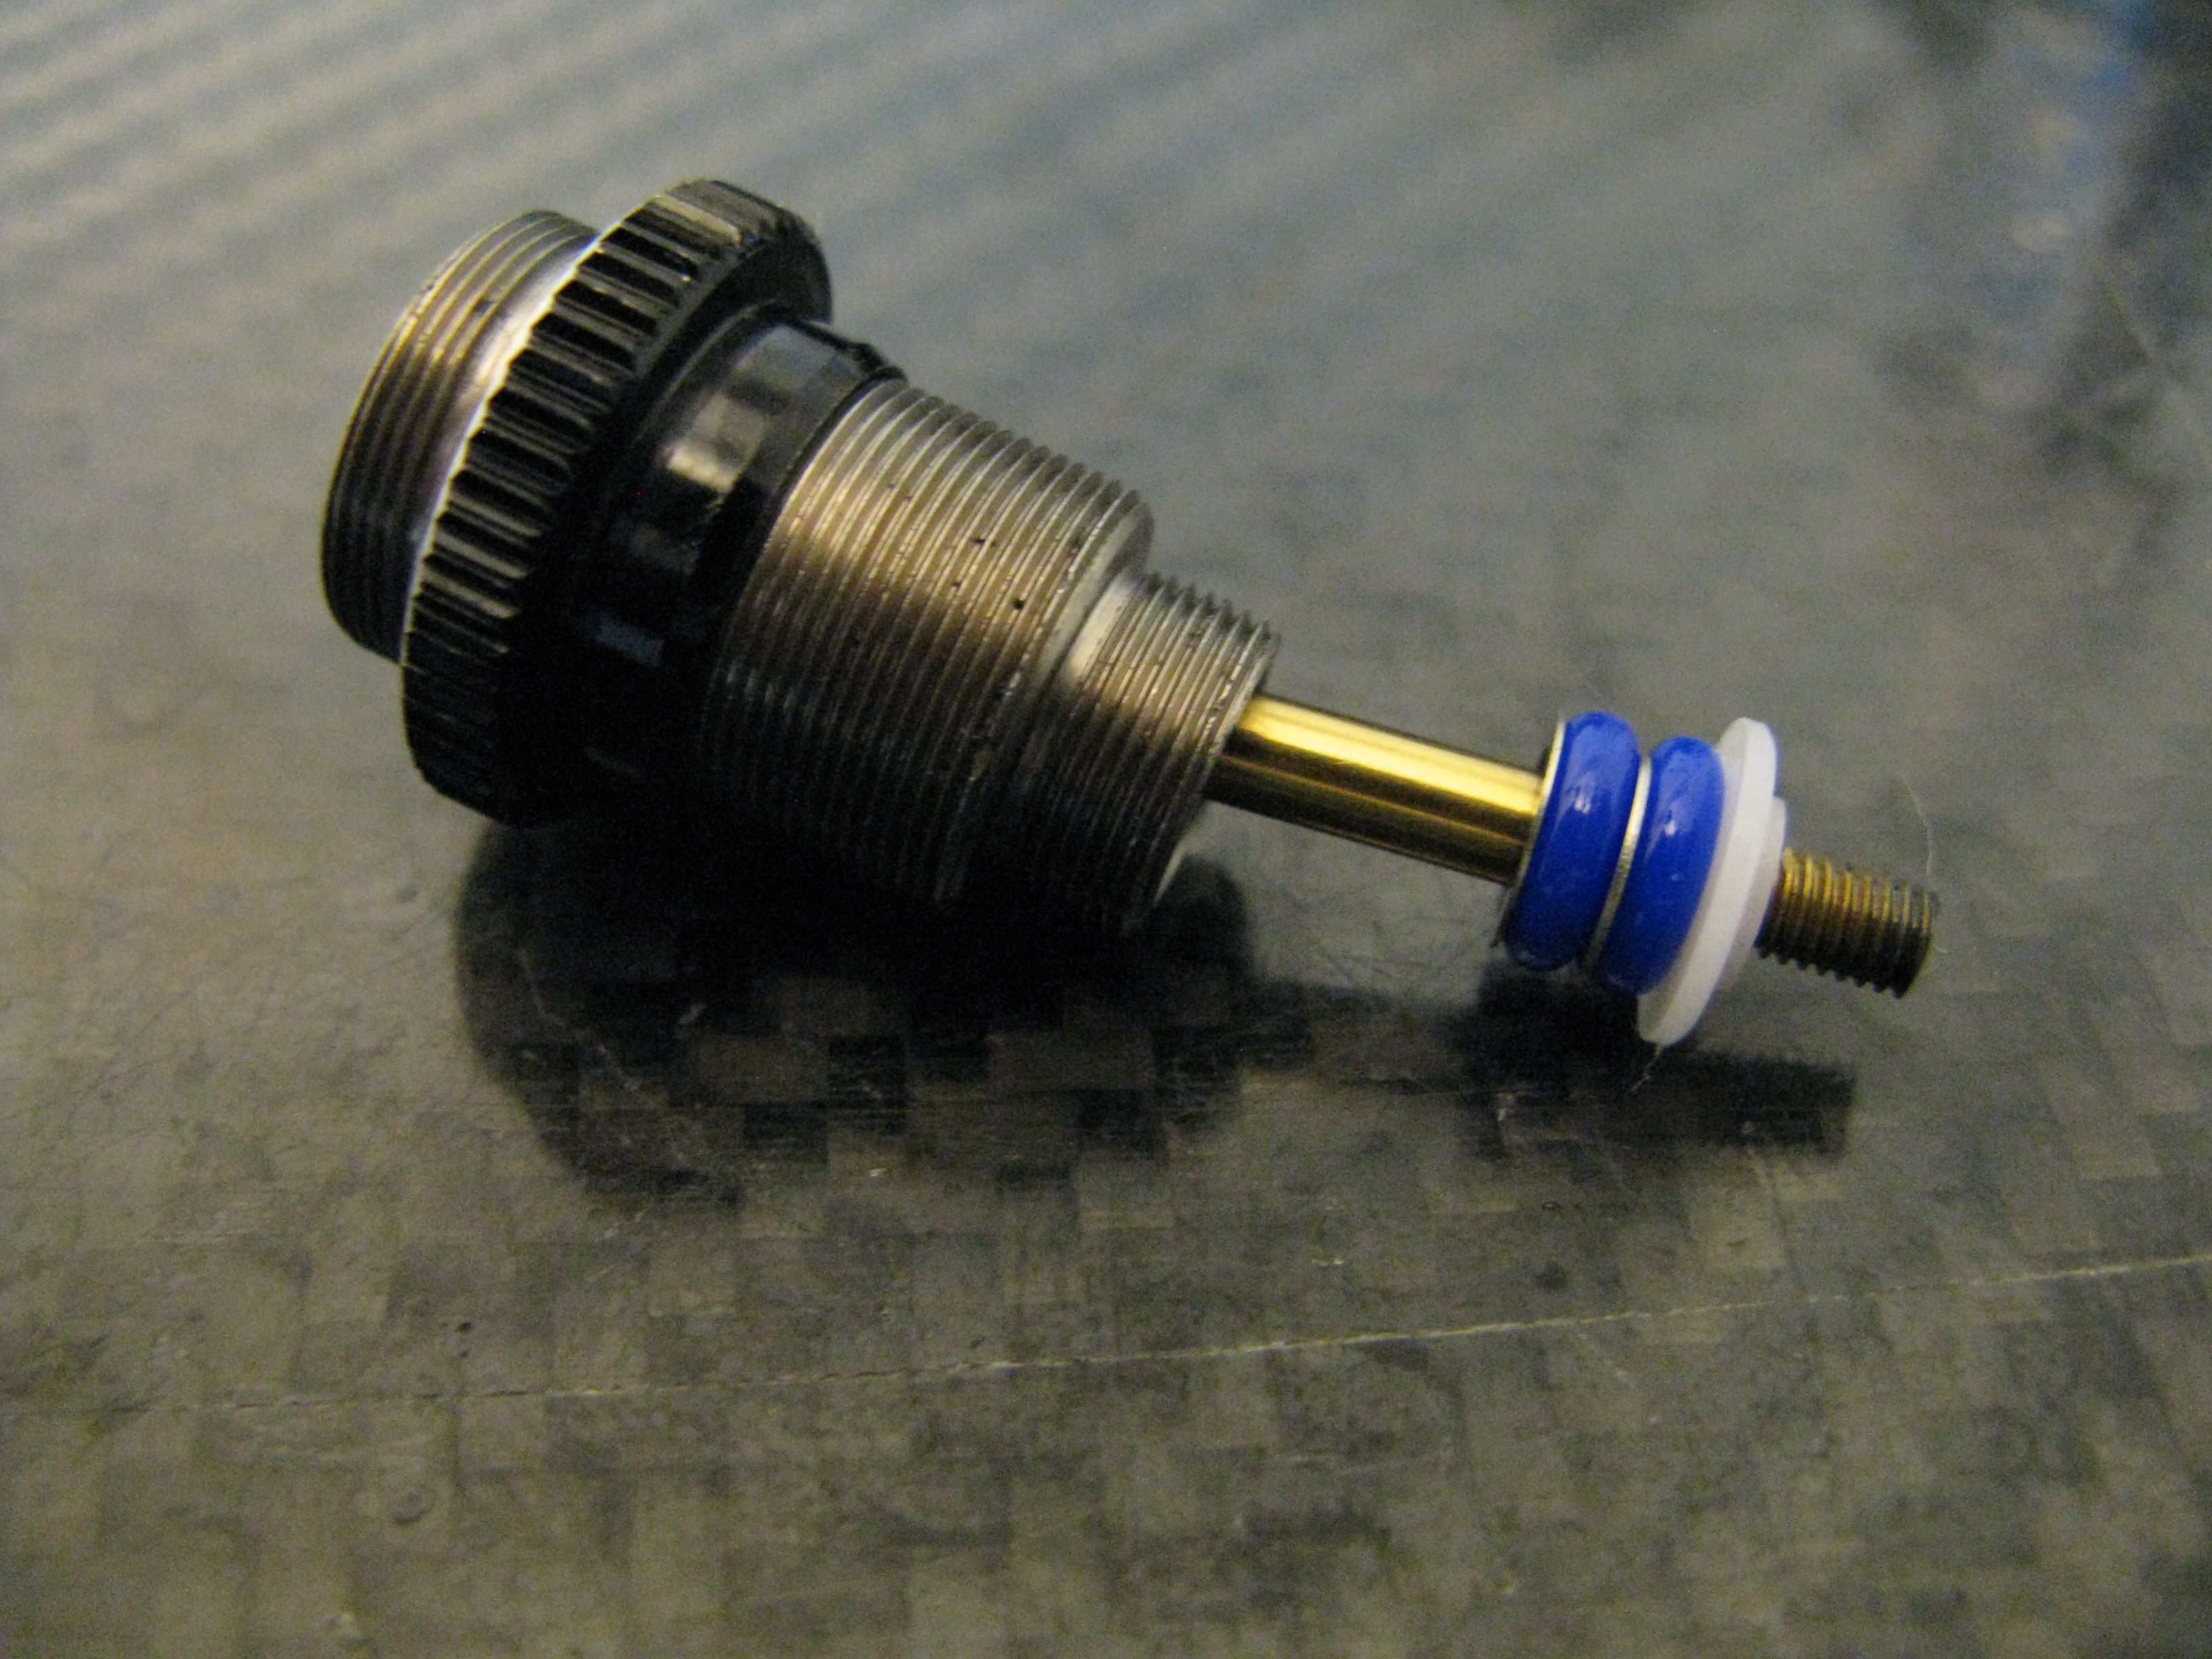
Asembly-ing
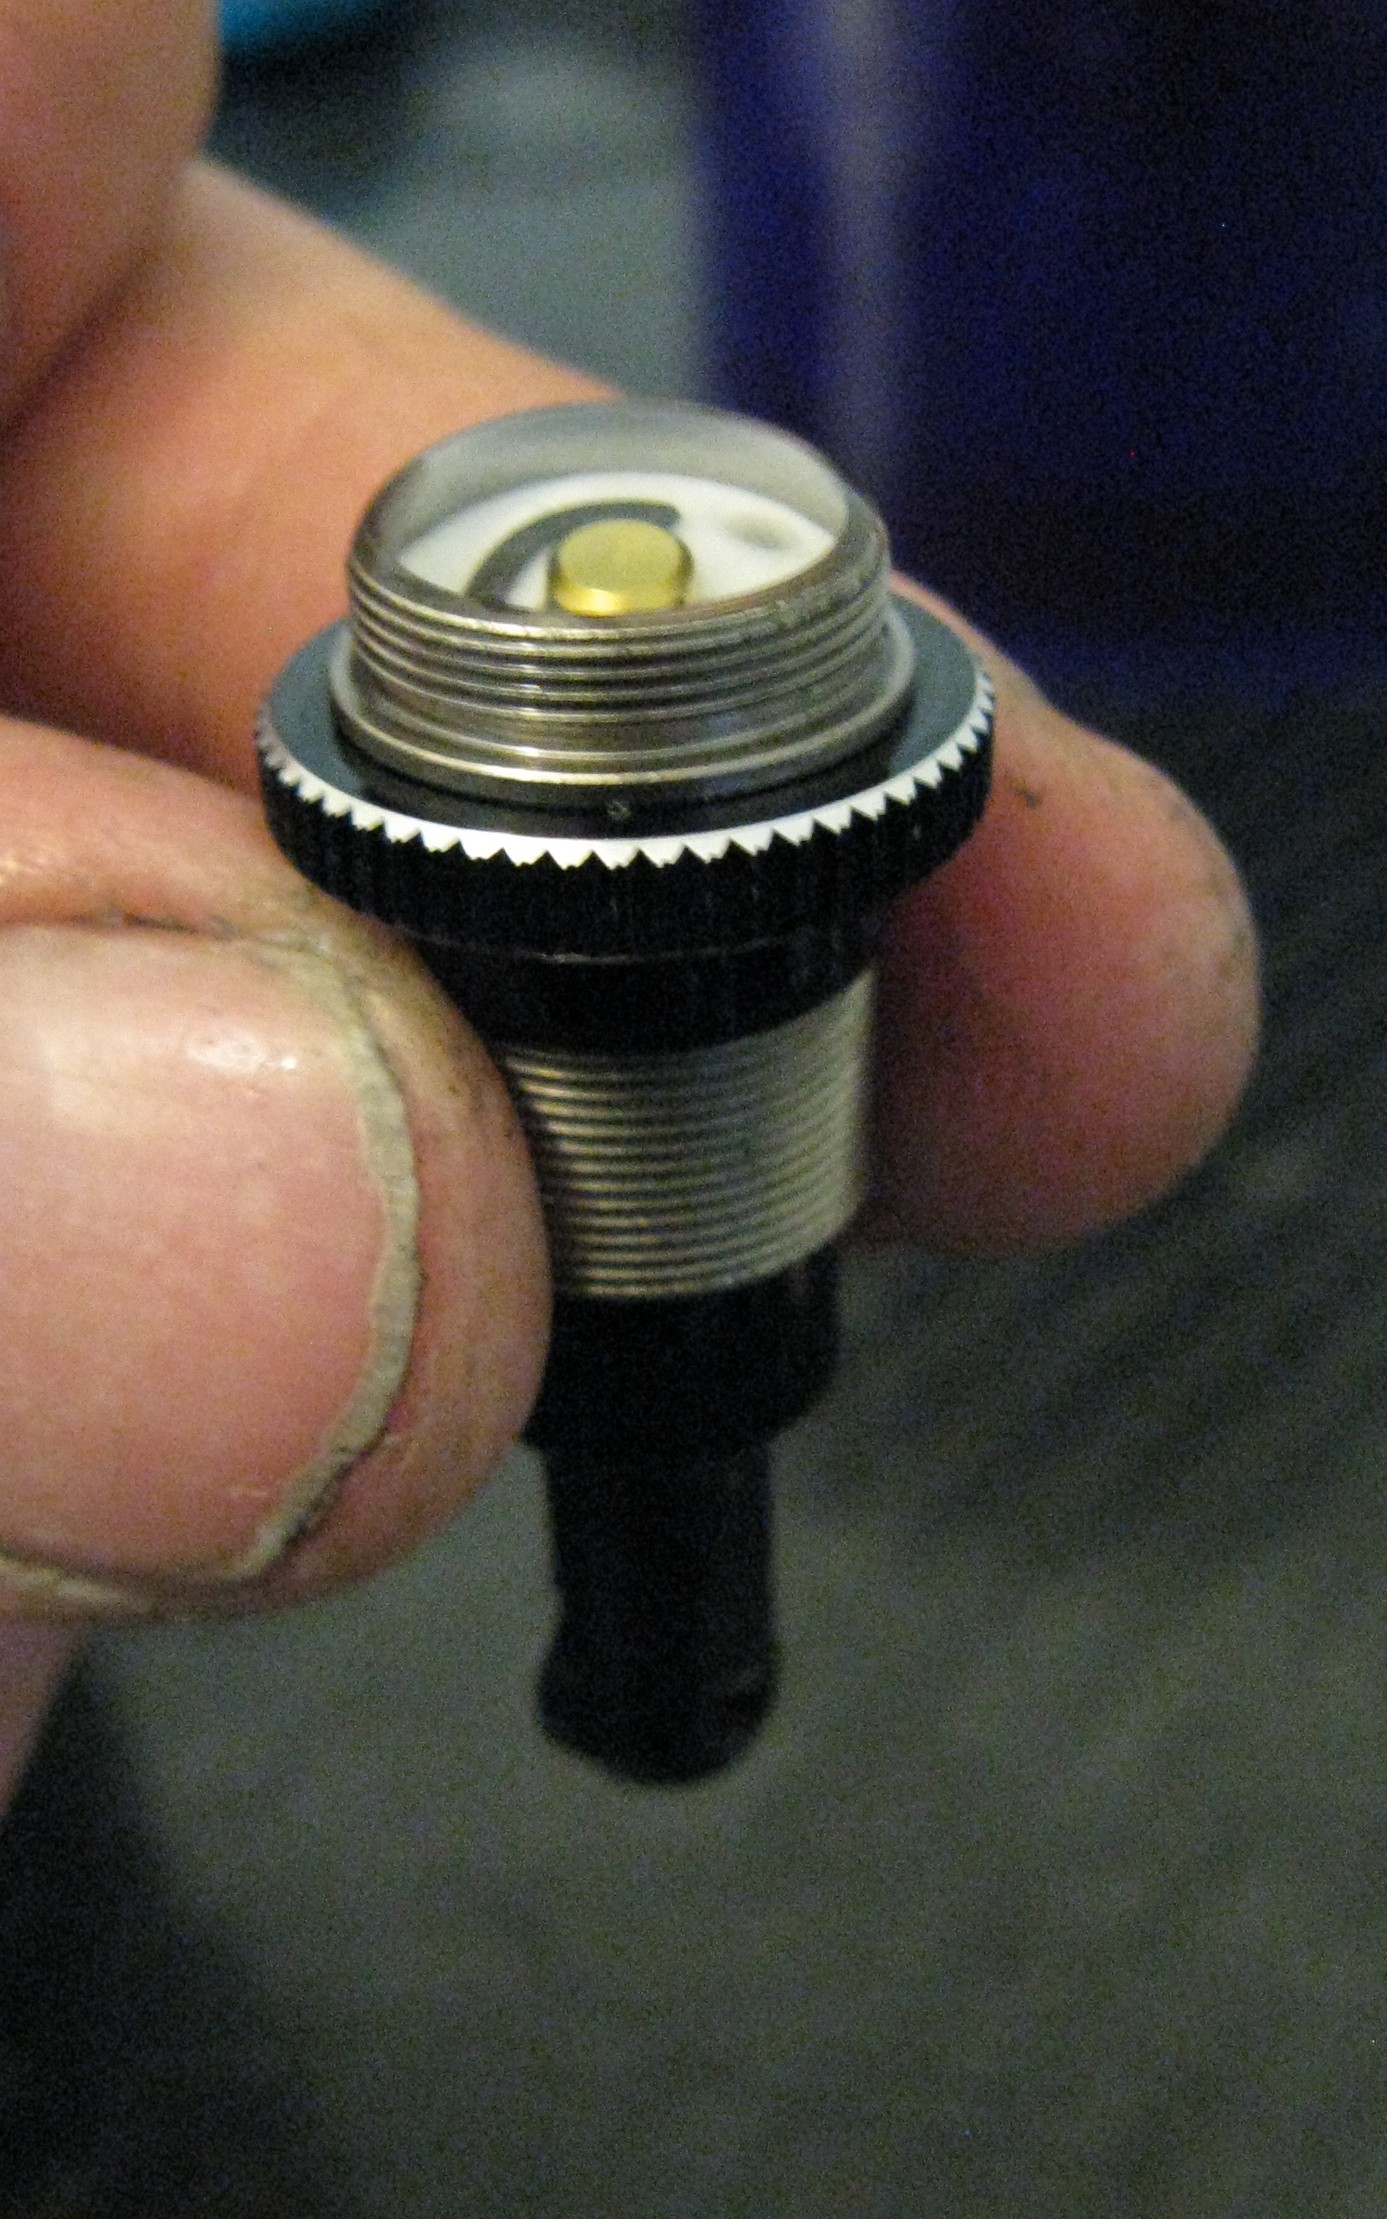
Now screw on the ball cup (using a pair of shock pliers here is a god send!). I use the technique mentioned in the Mi5 manual for setting shock length, as again it comes down to being able to set consistent rebound settings. I set all my shocks to 11.0mm as the ‘x’ length.
The ‘X’ factor
Next up, fill your shock with your oil of choice (I use MuchMore 500wt mostly), with the fill level flush to the top of the mian body. Then use a shock pump to remove any air. I do tend to like vac’ing down the shocks more than once, as normally there’s a few pesky bubbles hidding underneath the piston. Remove each shock between vac’s, and move the piston up and down slowly until the bubbles are gone. If any remain, vac them again!
With all the air out of the shocks, now it’s time to set rebound, and seal up the shock. Take the shock in hand, and then push the piston up into the body to the level of rebound you want. I prefer to run as little rebound as possible, so the piston goes all the way in.
Setting low rebound
Then, wrapping a little bit of paper towel around the body to soak up and spillage, slip the bladder on. I put it down at an angle, so any bubbles have the opportunity to escape out from underneath the bladder. As I’m a neat freak, and hate getting oily fingers, use the paper towel to soak up the excess oil.
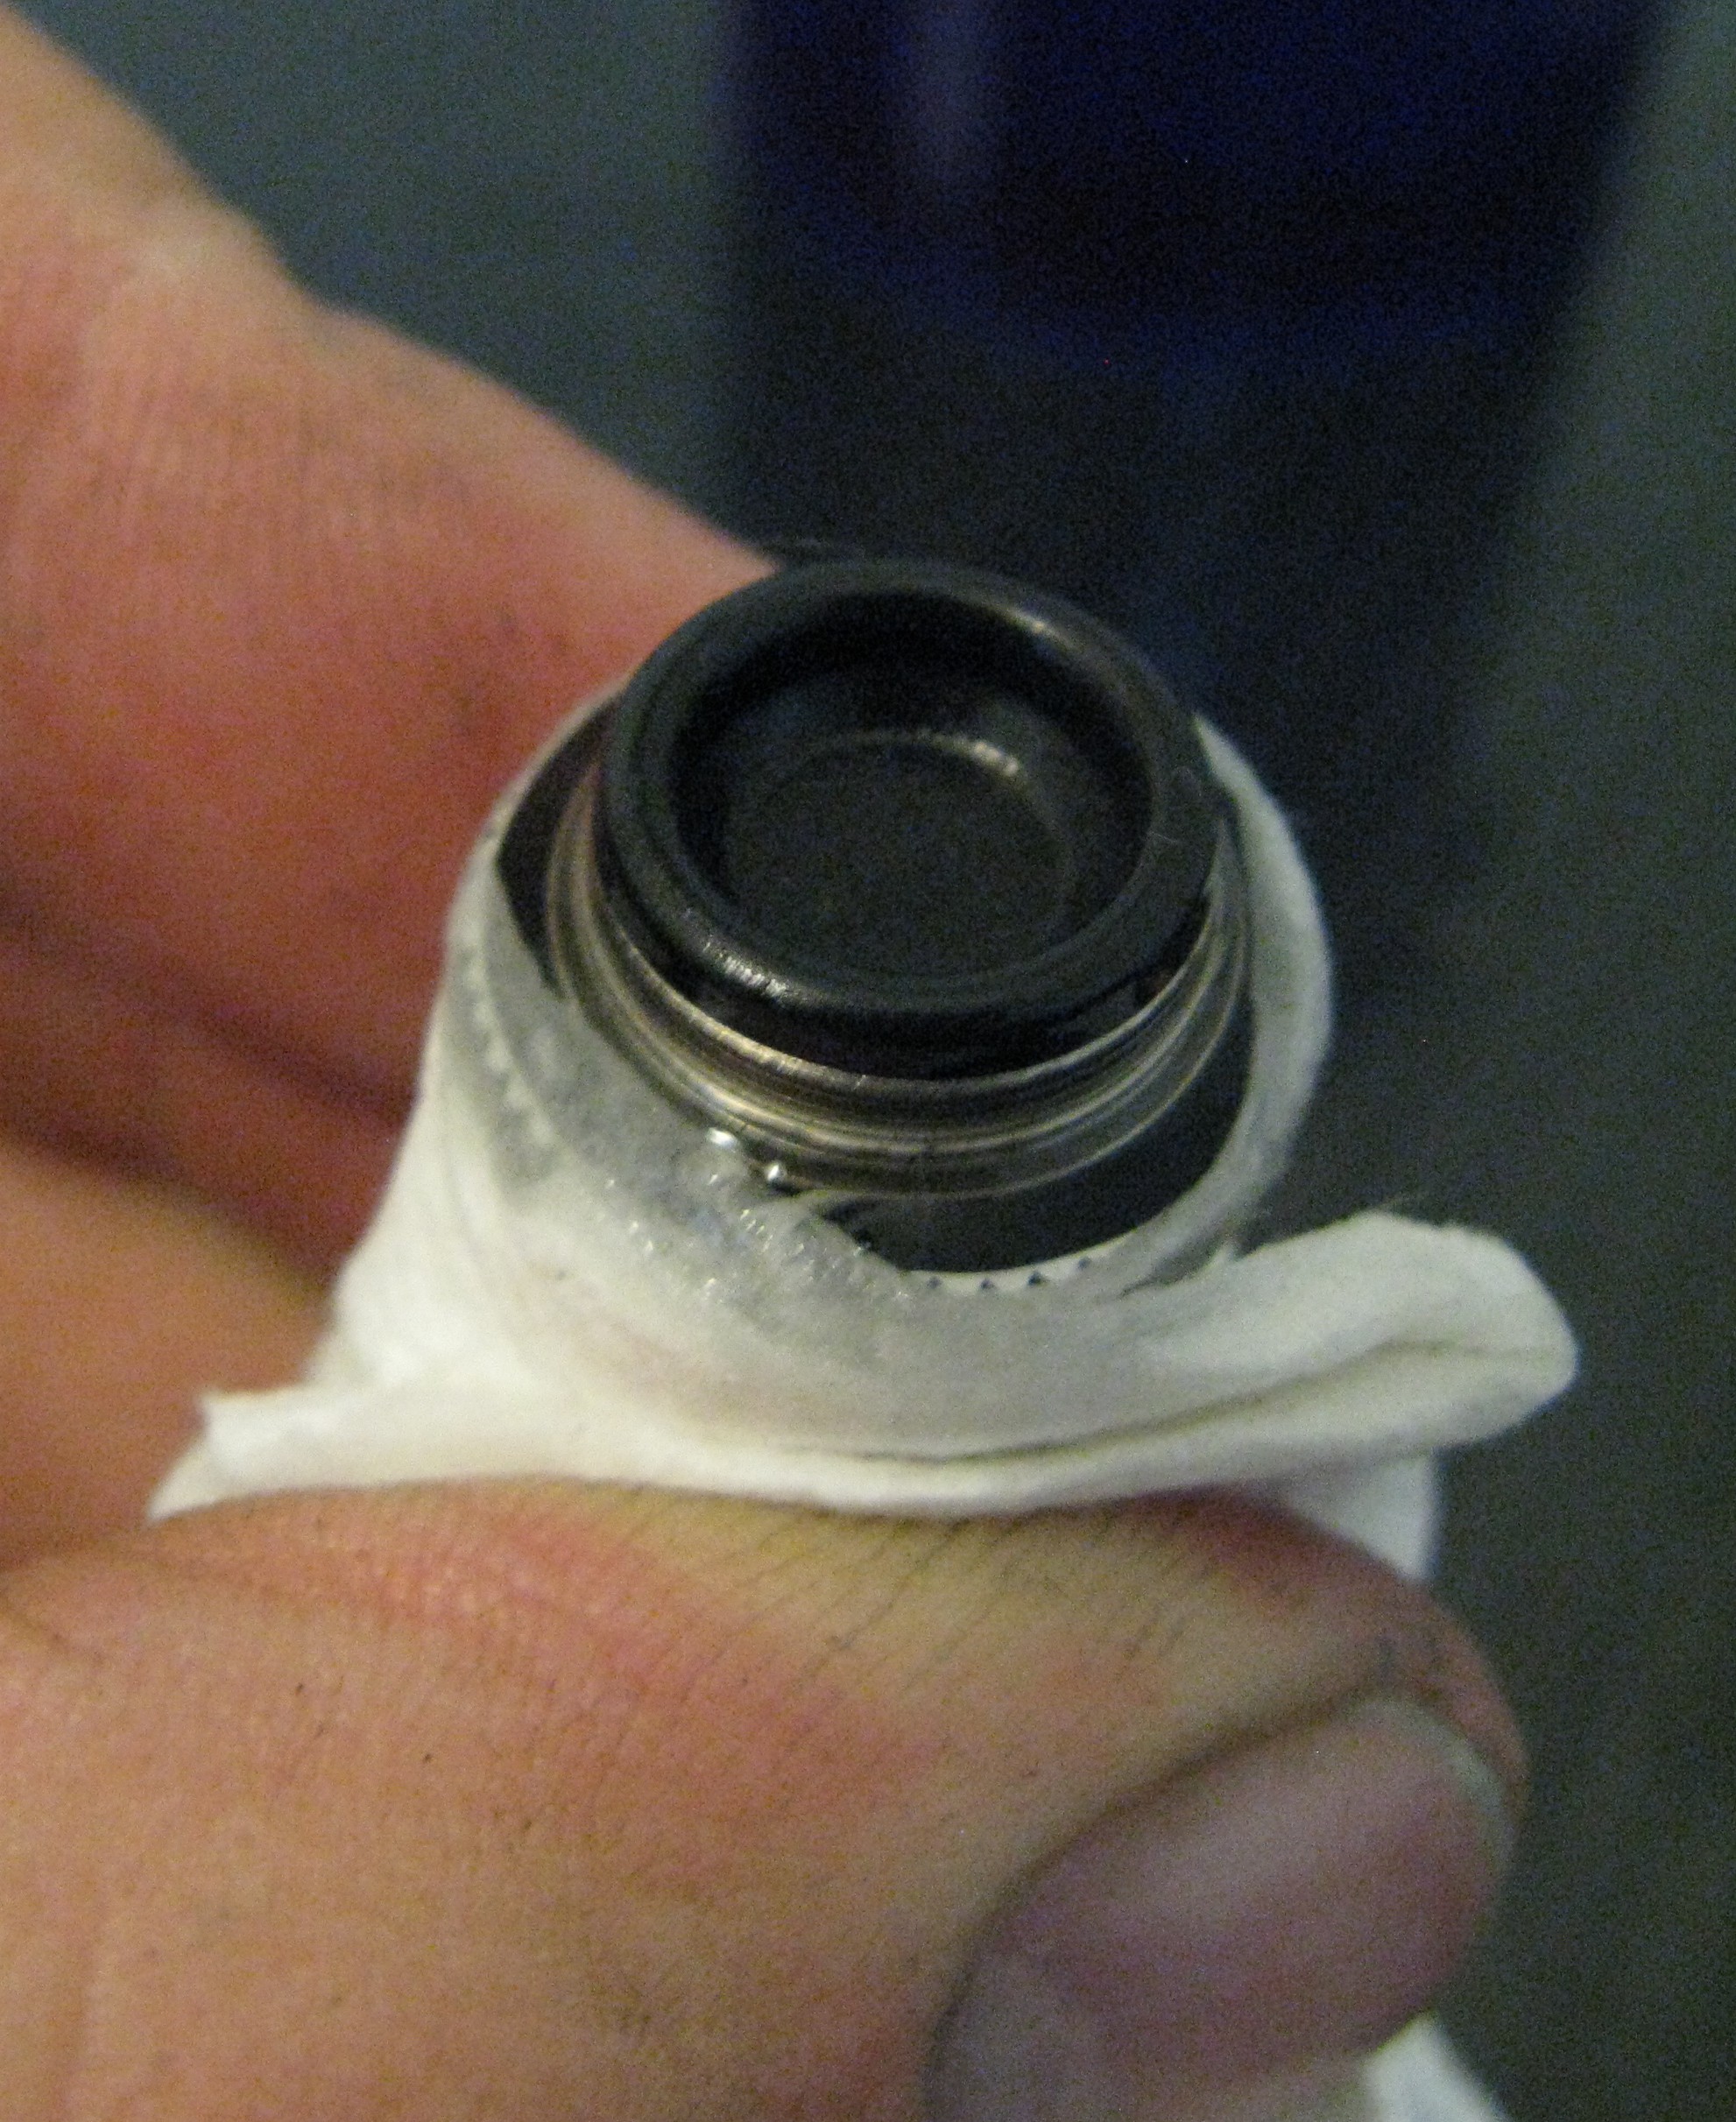
Pop on the bladder
Next up place on the shock cap. Now here you can see the vented shock cap I also run, which is simply a 1mm hole drilled through the cap to vent the cavity that exists between the bladder and shock cap. Vented top caps help to deaden the shock reaction, as the bladder can deform and actually compensate for the volume change as the piston moves into the body, rather than trying to compress air…
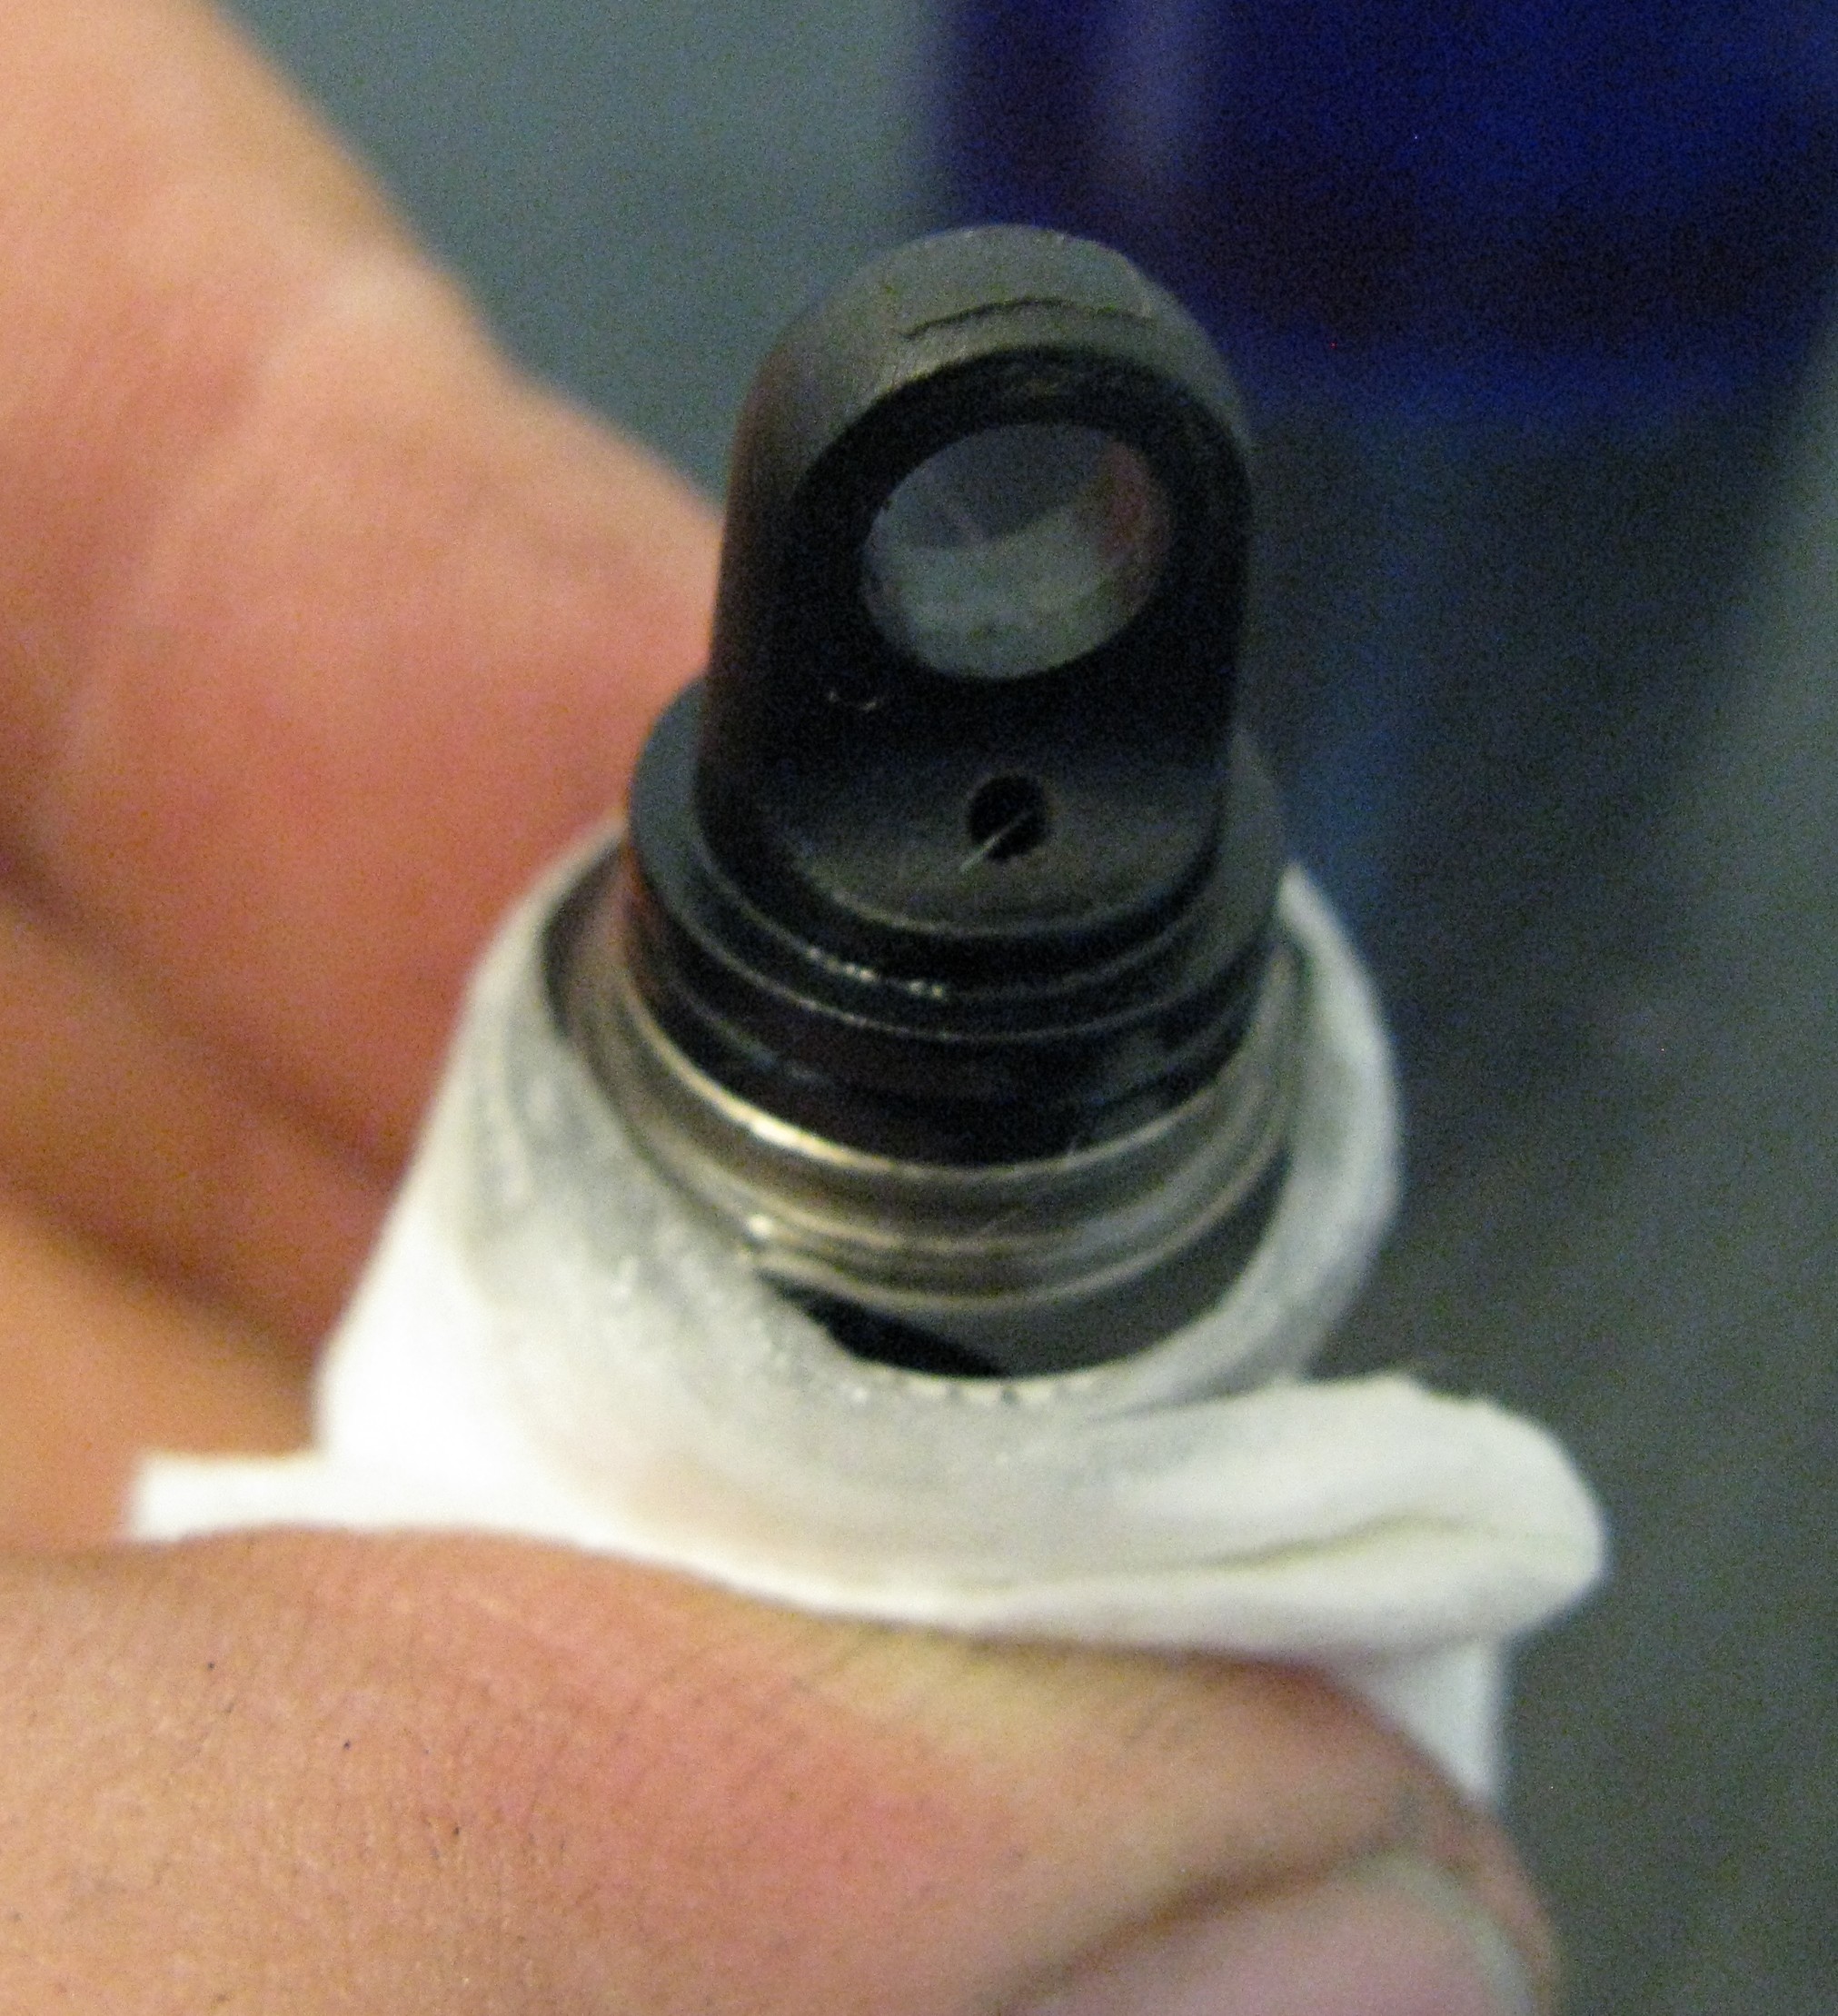
Vent hole..
Lastly, screw the top cap on… only another three to go! You can also see the little marker I put on the adjuster collar. I use a small triangular file to remove some of the black anodising to give a reference point on the collar. You can use paint pen or similar, but this is a more permanent solution, and quick and easy to do 🙂 Makes for setting spring pre-load and hence ride-height a lot easier.
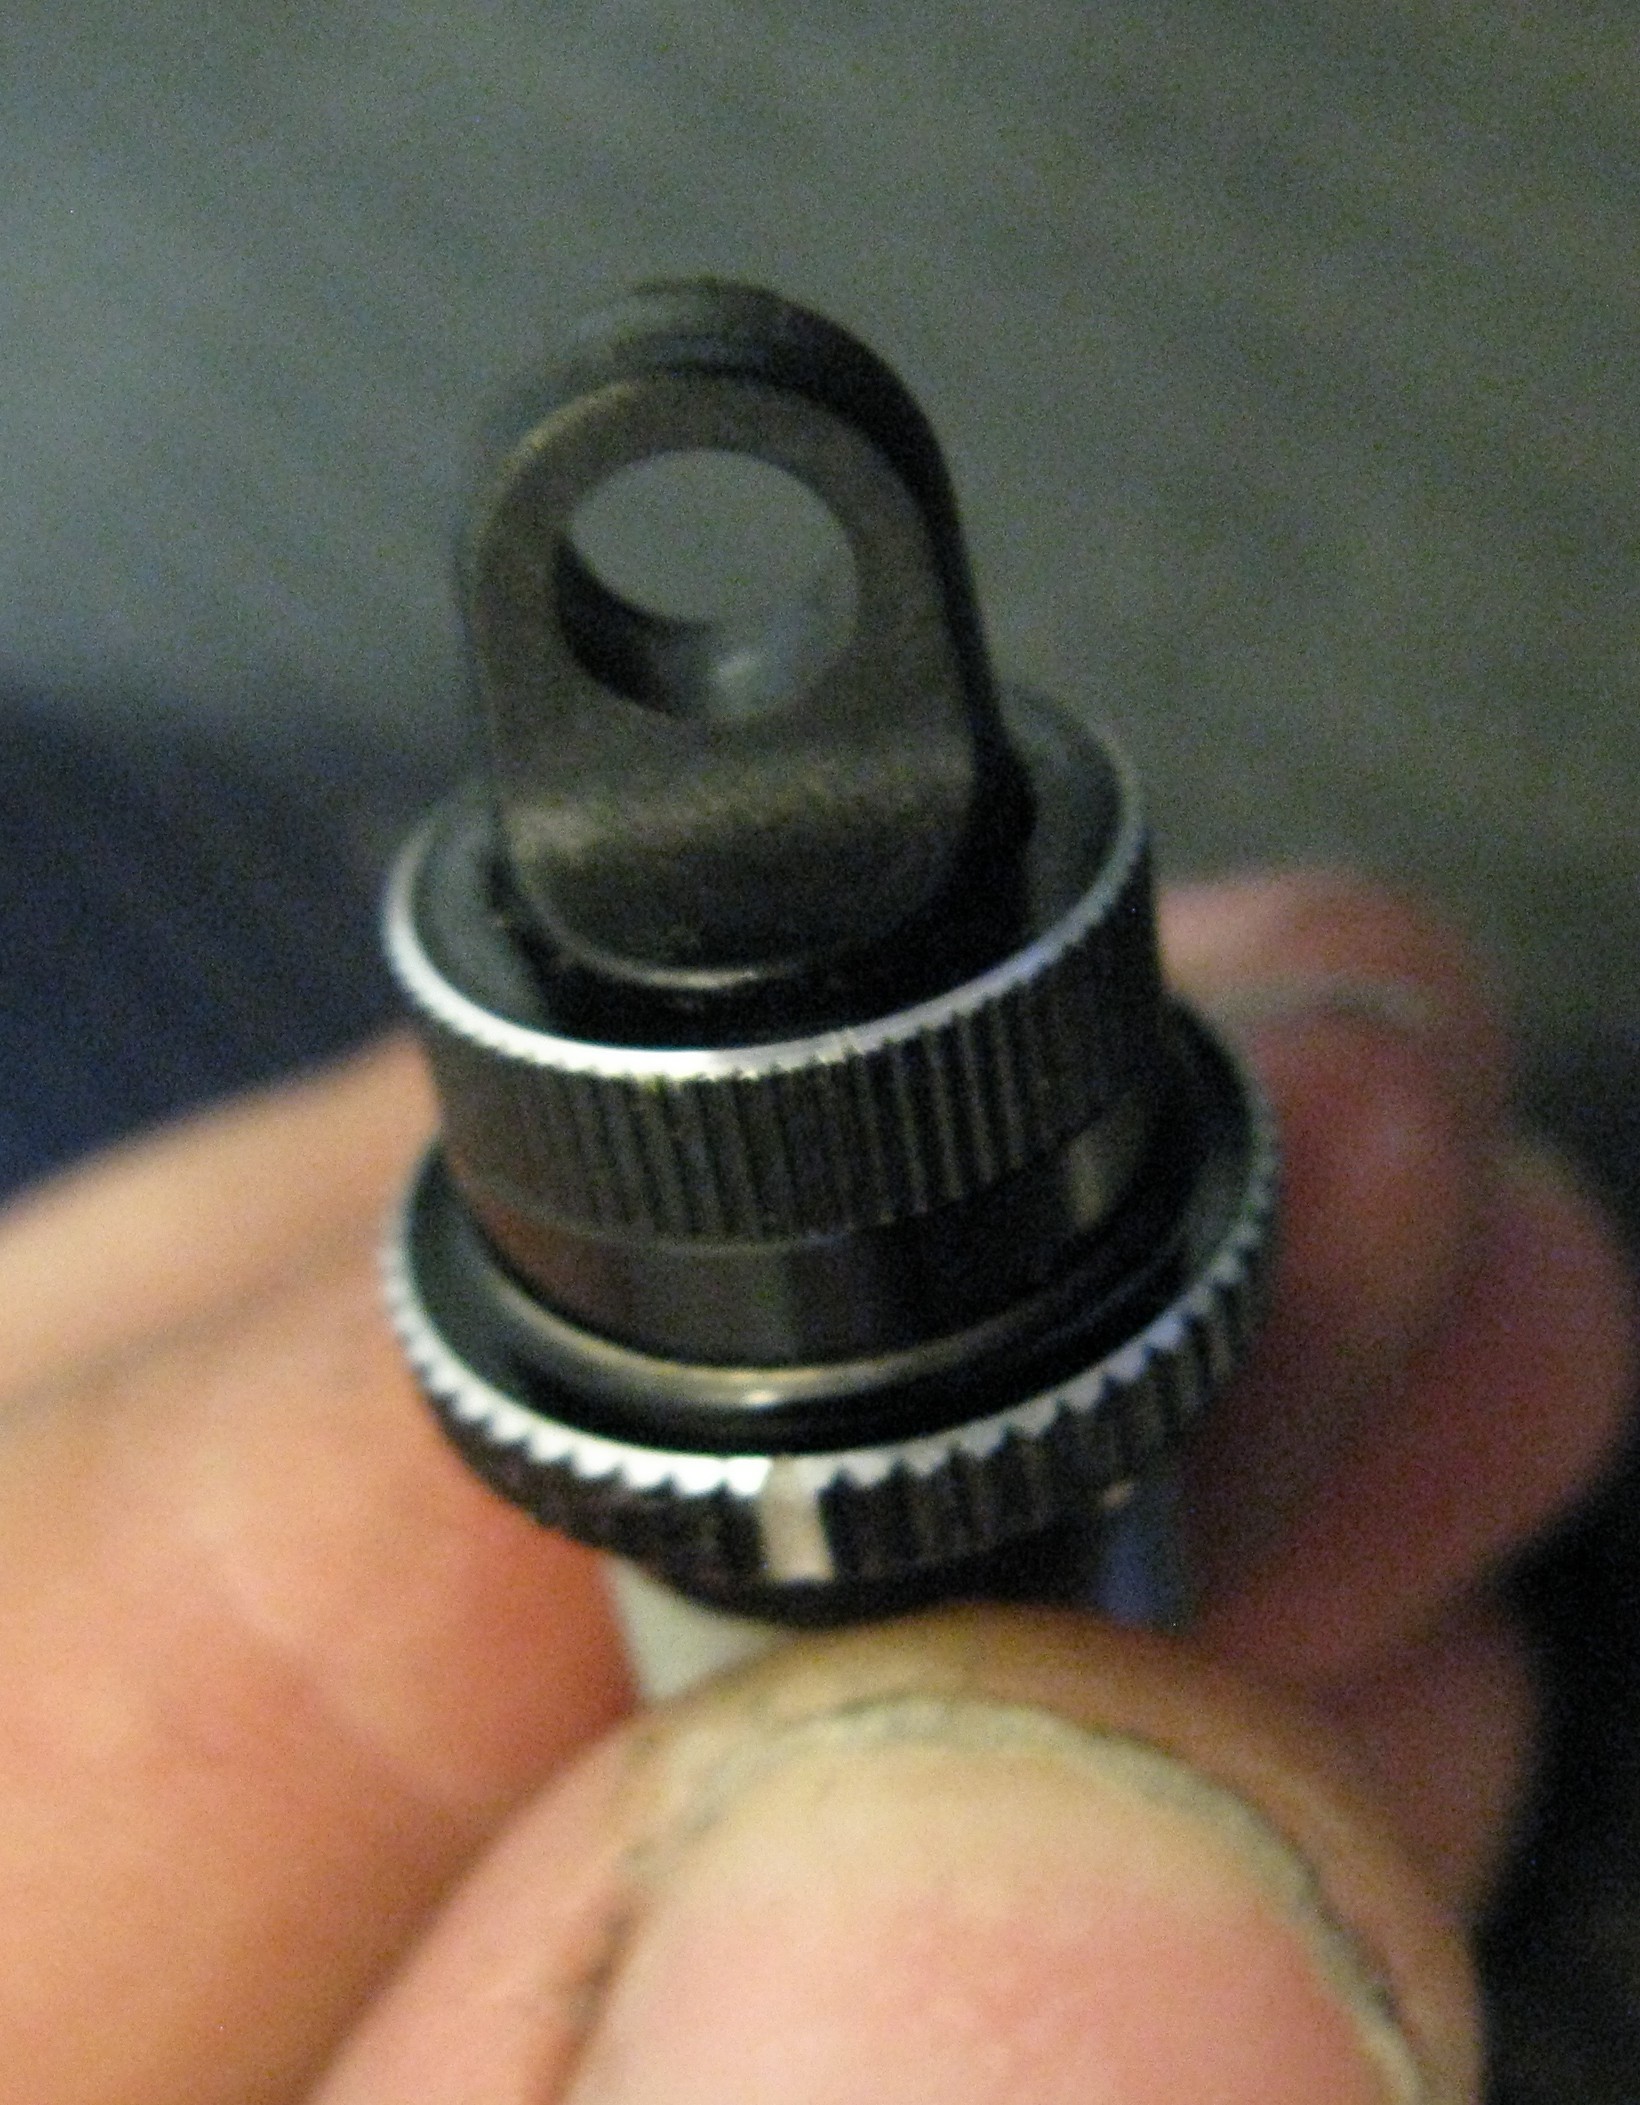
Done… 3 to go!
The last thing I want to post is a comparison of two shocks, showing the final level of rebound. It’s around 2mm, or as close to zero as possible. Ideally, all four should be the same, but if not, at least get them matched into pairs for each end of the car.
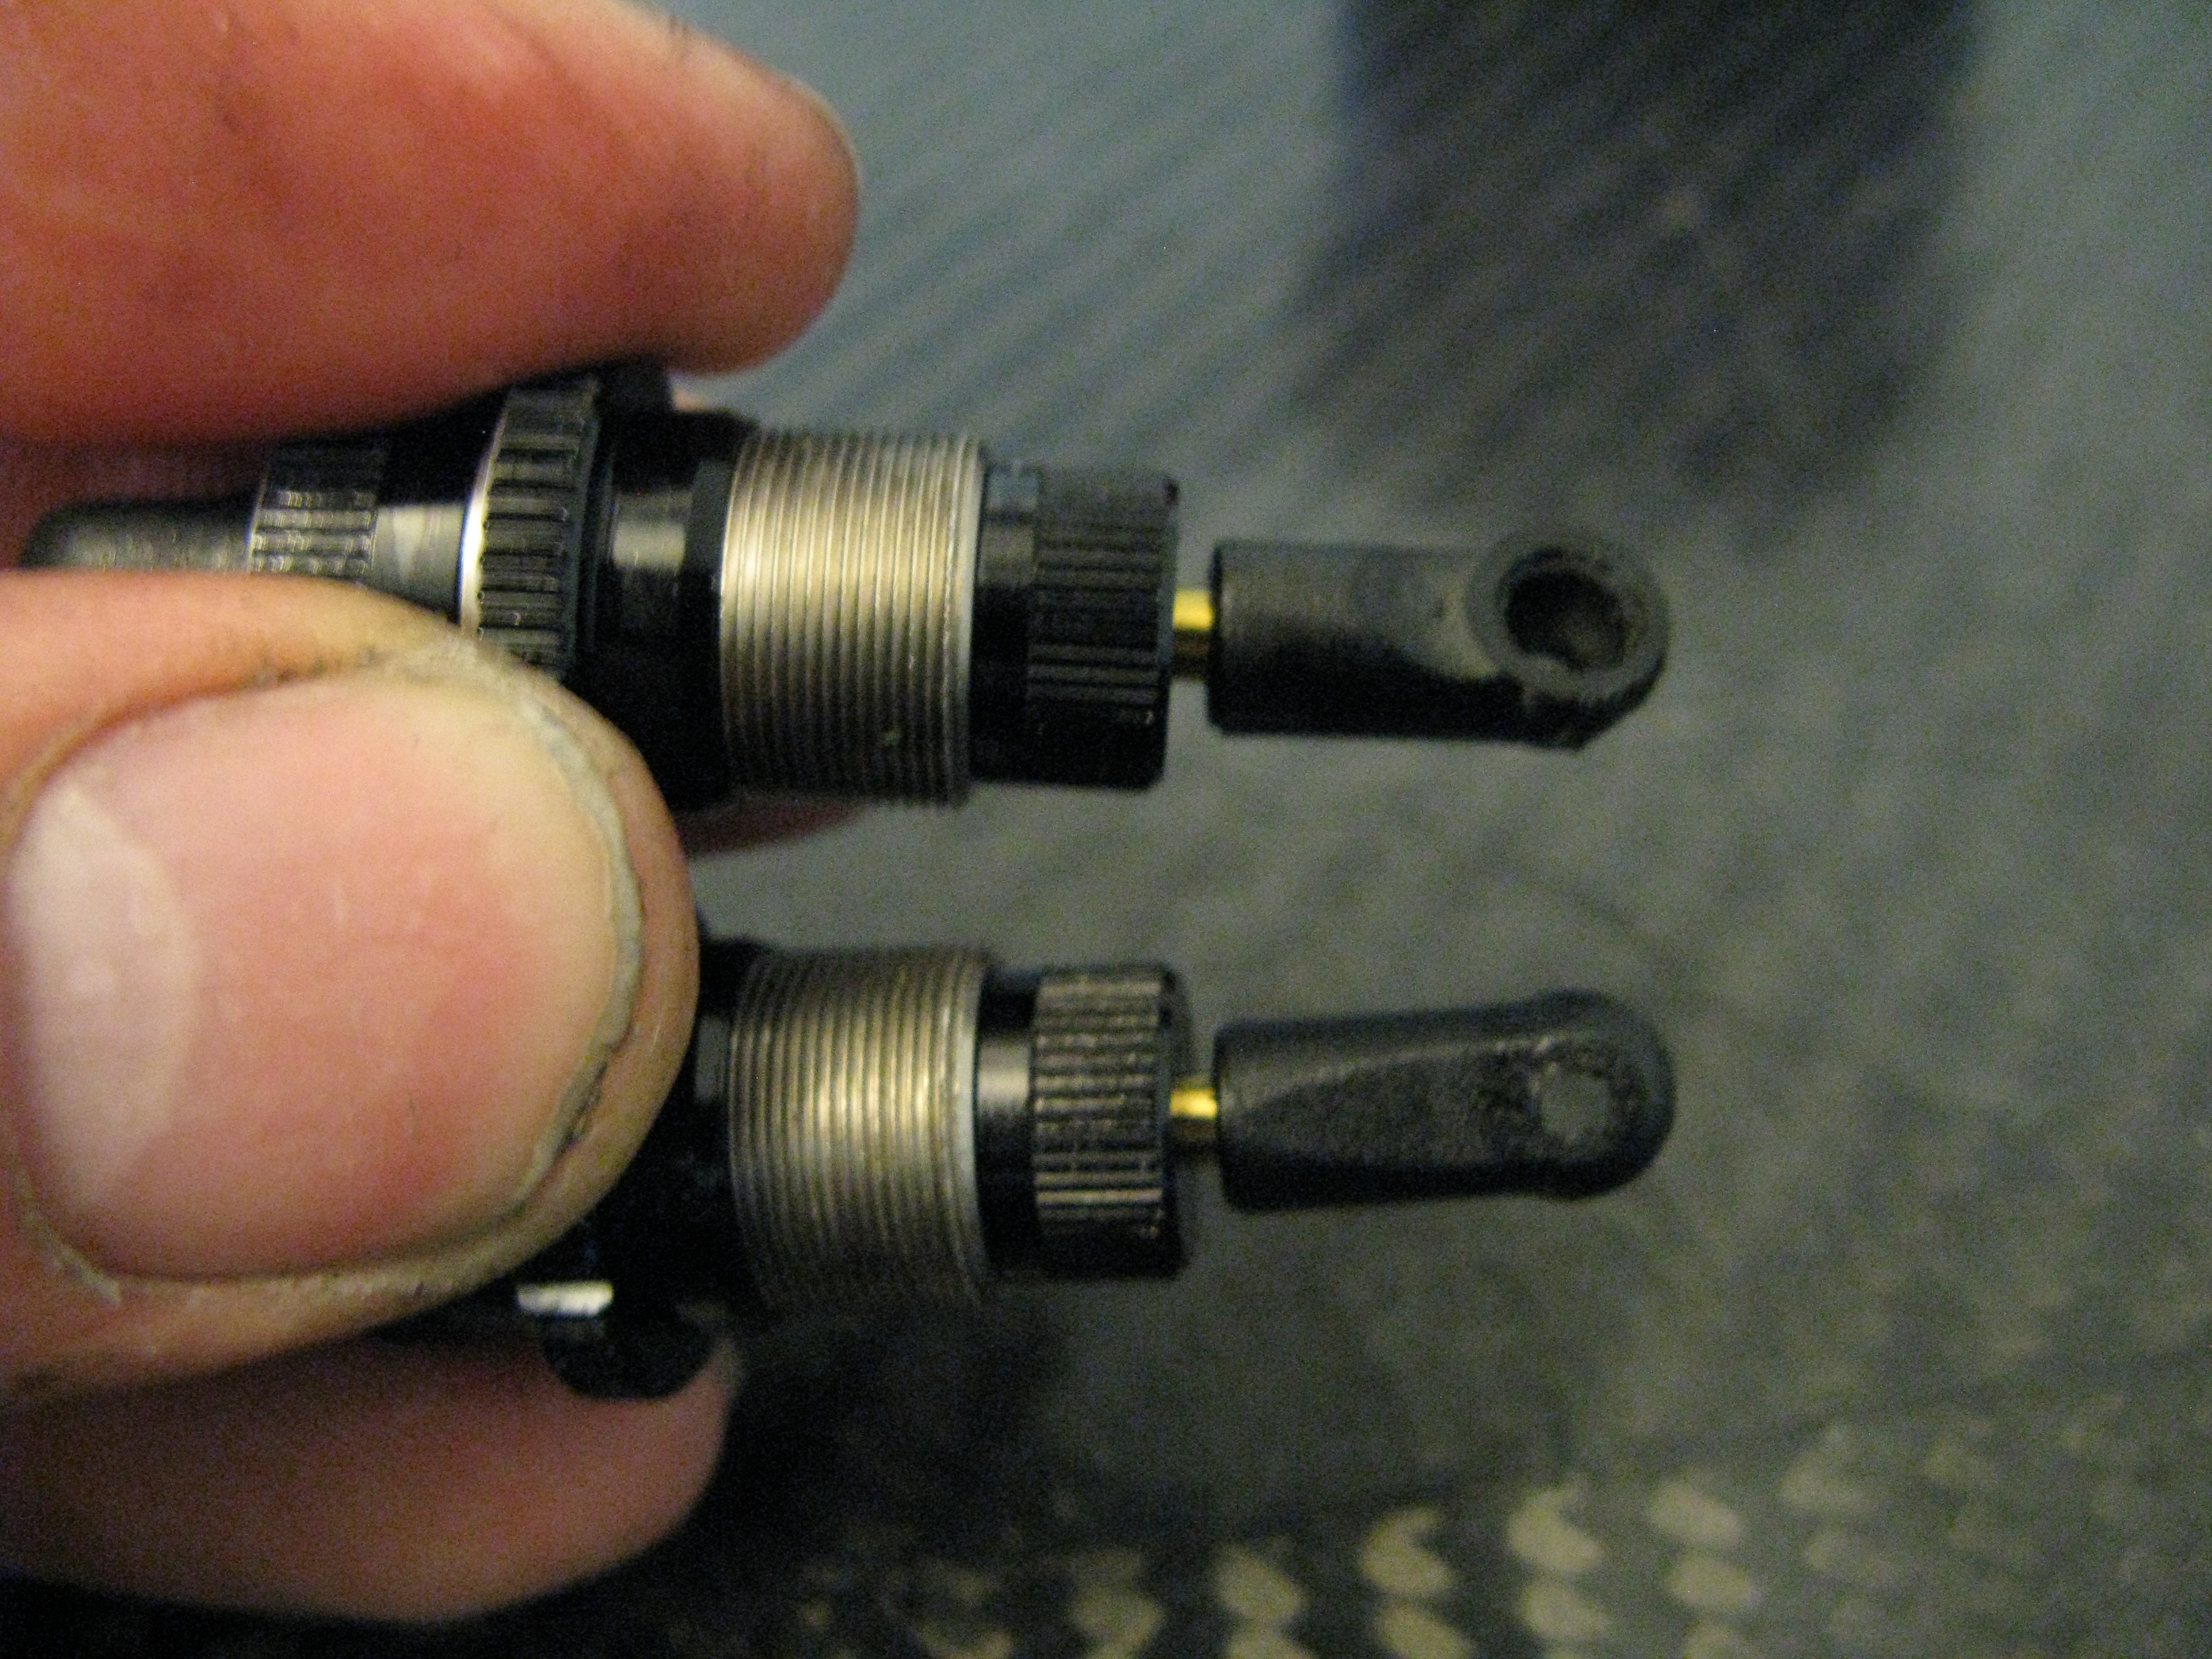
Matched Pair
And thats it. Hope it’s been a helpful guide, and useful for building good Schumacher shocks to match anything else out there 🙂