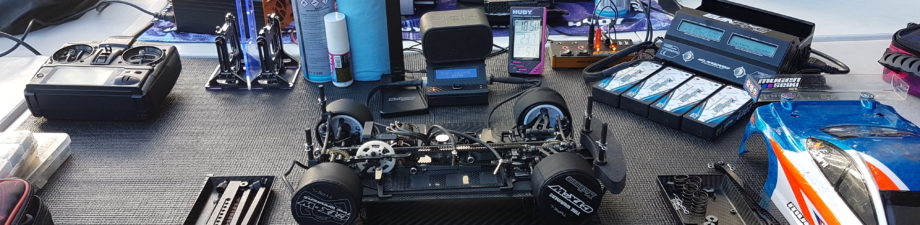
Mi5 Diff Build
In a bit of a change from previous cars, Schumacher released the Mi5 with their own designed diff, rather than relying on Spec-R products. Having run them for a few months now, I’ve developed a set procedure for building them, mainly as I’ve found that the kit build does allow a bit of leaking, from both the case join, and the outdrives. Parts needed
- The first thing to get is a Gear Diff rebuild kit (U4279), as you’ll need the case O-ring, and shims from the kit.
- Next up, you’ll need some Tamiya 5mm shims (53587), these are used to help seal up the outdrive o-ring
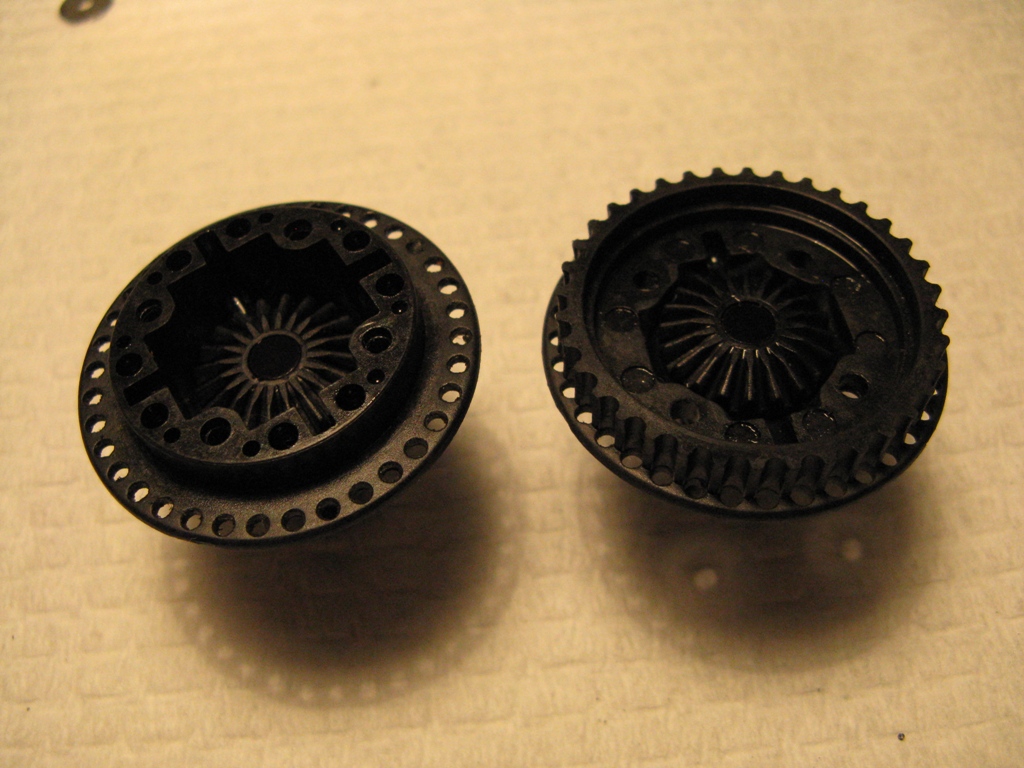
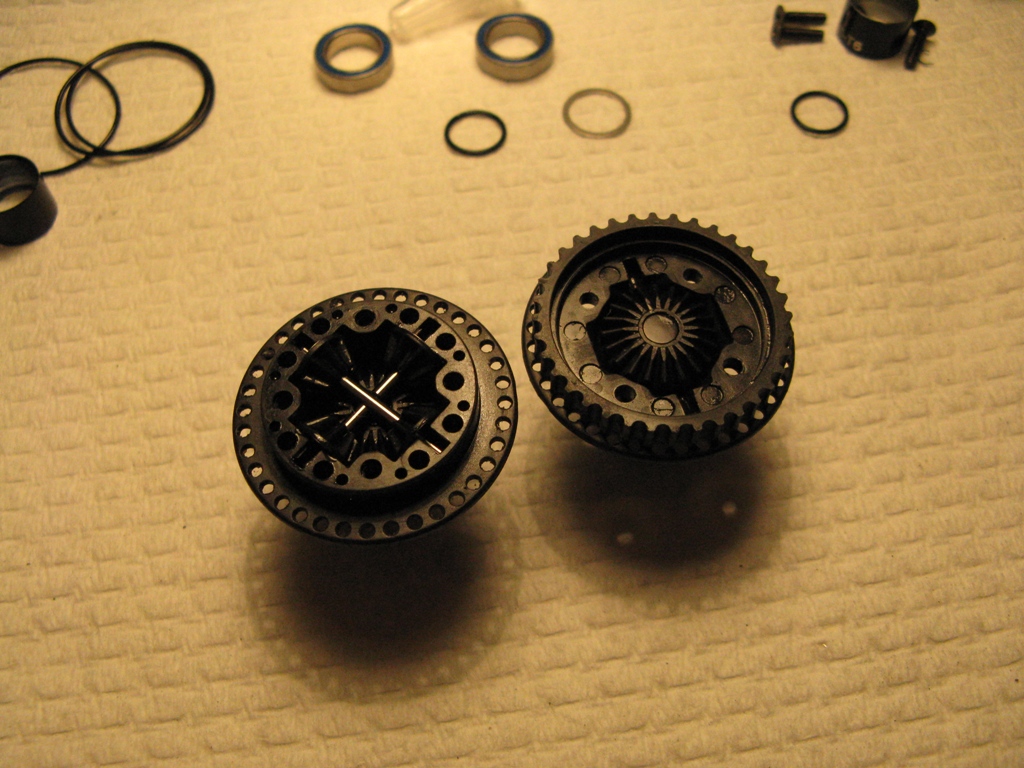
The Build First step is to bring all the parts together. I like to build diffs on a bit of paper towel, more to keep things clean than anything else.
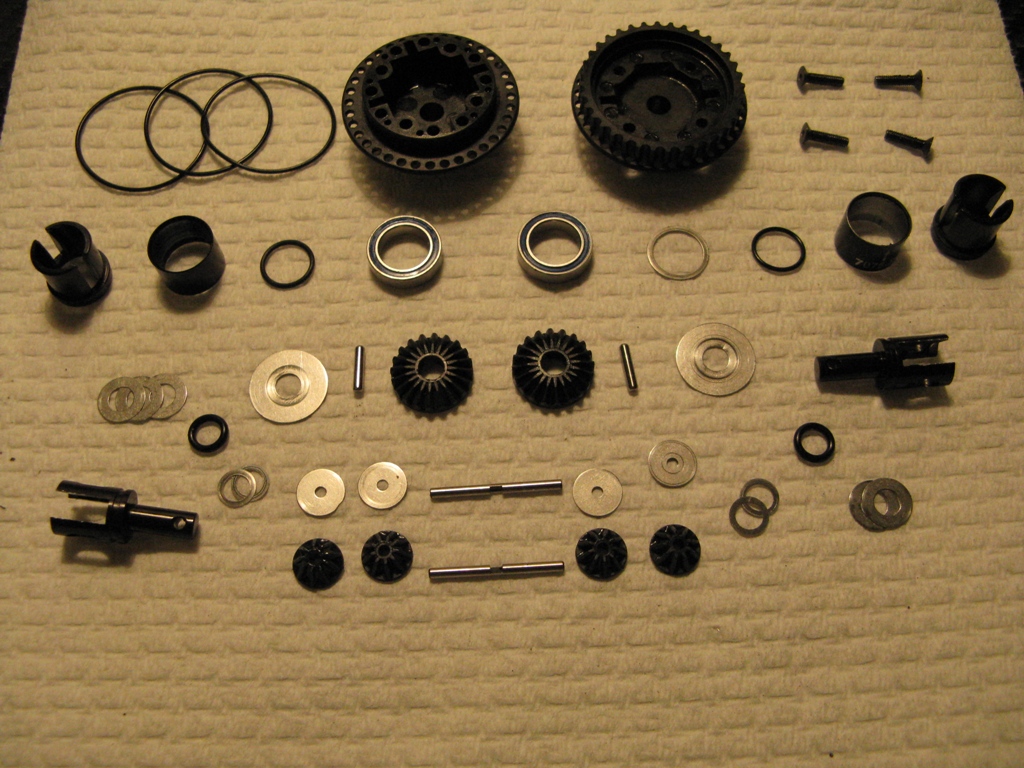
Diff in pieces
So the first thing I do different to the instructions, is to shim the outdrive O-ring. When looking at the kit build, the O-ring sits deep in the casing, and is a long way short of the end. I shim the O-ring up, so it sits just above flush with the edge of the case. This way, the O-ring actually makes a seal against the outdrive, rather than floating around. I use 0.3mm worth of the 5mm shims, and put them into the outdrive ends of the case.
Shims in outdrive
Next up is to build up the outdrives. Here I also deviate from the instructions,or more specifically the addendum sheet. Instead of using two small shims on the non-tooth side, I follow Martin Hoffers advice and use 3 small shims (this is where the diff re-build kit comes in). On the other side of the casing, use two small shims.
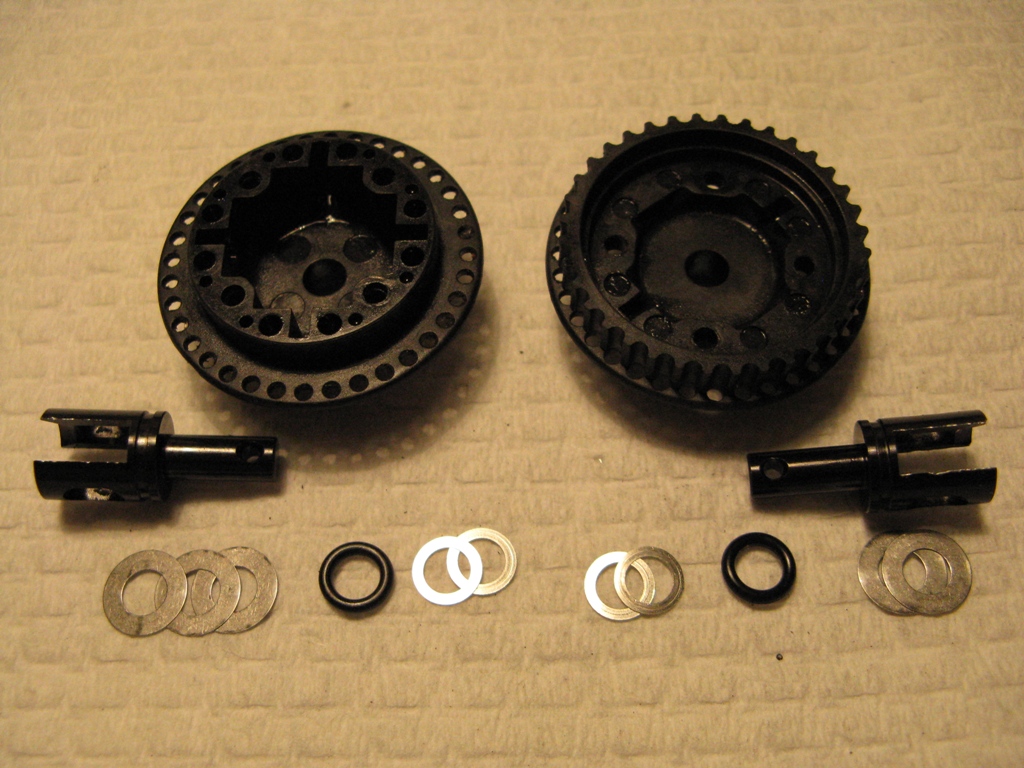
Outdrive Shim order
One quick note, is that before inserting the outdrive into the casing, just add a drop of oil onto the o-rings. This allows the o-ring to seat easier in the casing, and helps with sealing.
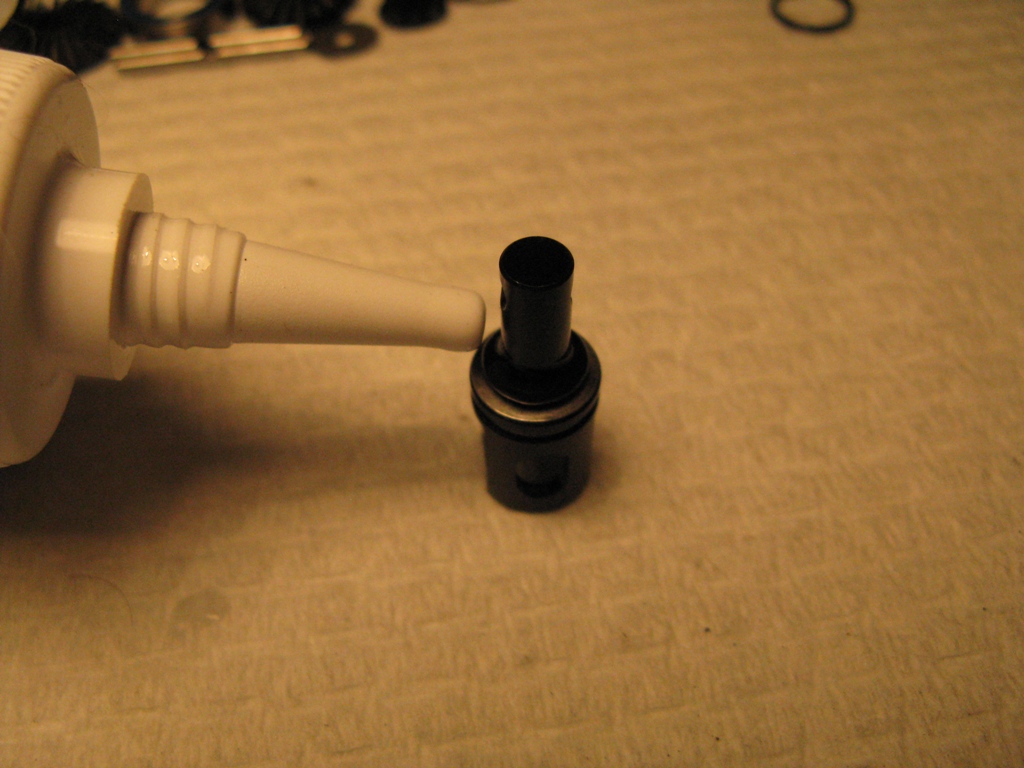
Oiling the O-ring
Push the outdrive into the casing, then add a single big shim to each side. This is different to the kit instructions, but the single shim on the toothed case side is compensate for by the extra shim on the outdrive. Using just a single shim behind each gear helps to free up the gear mesh. .
Outdrive in
Big Shim
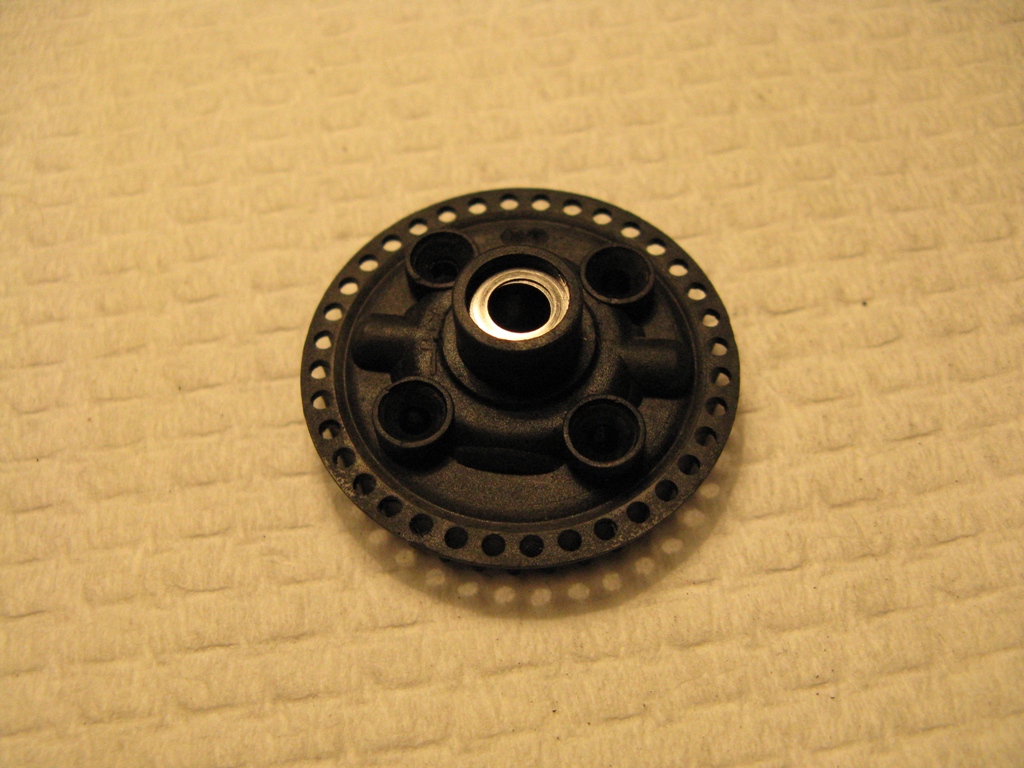
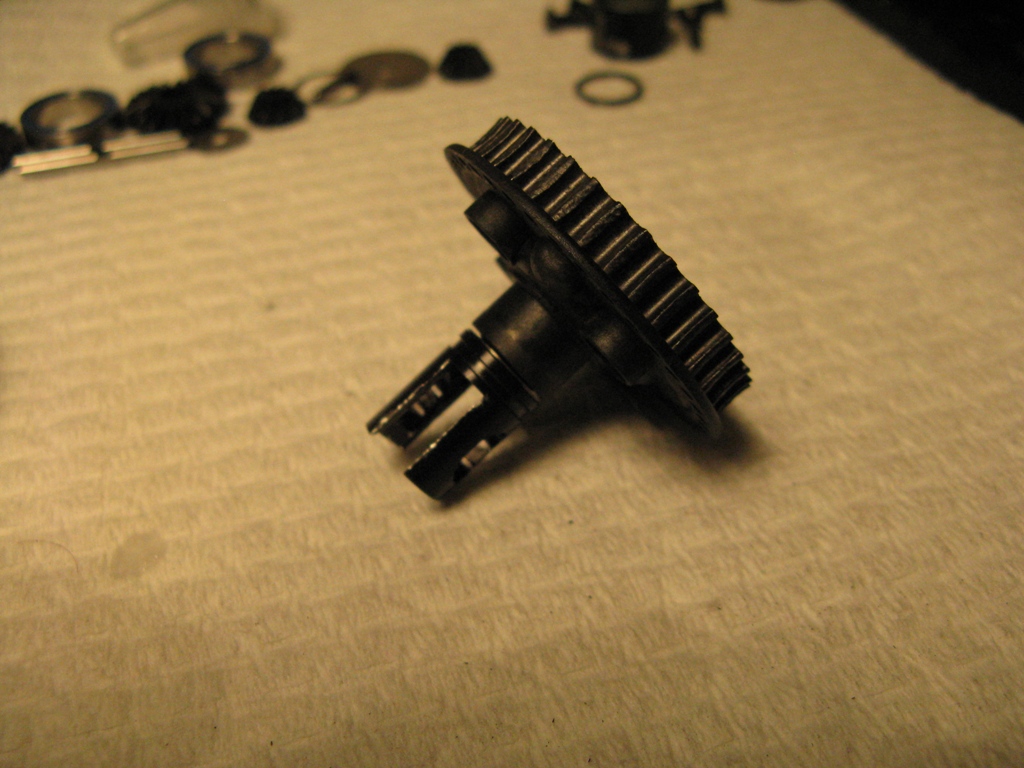
Then put on the drive pin and Crown gear. I should mention that I don’t sand the gears at all, just fit in and forget.
Crown gears in
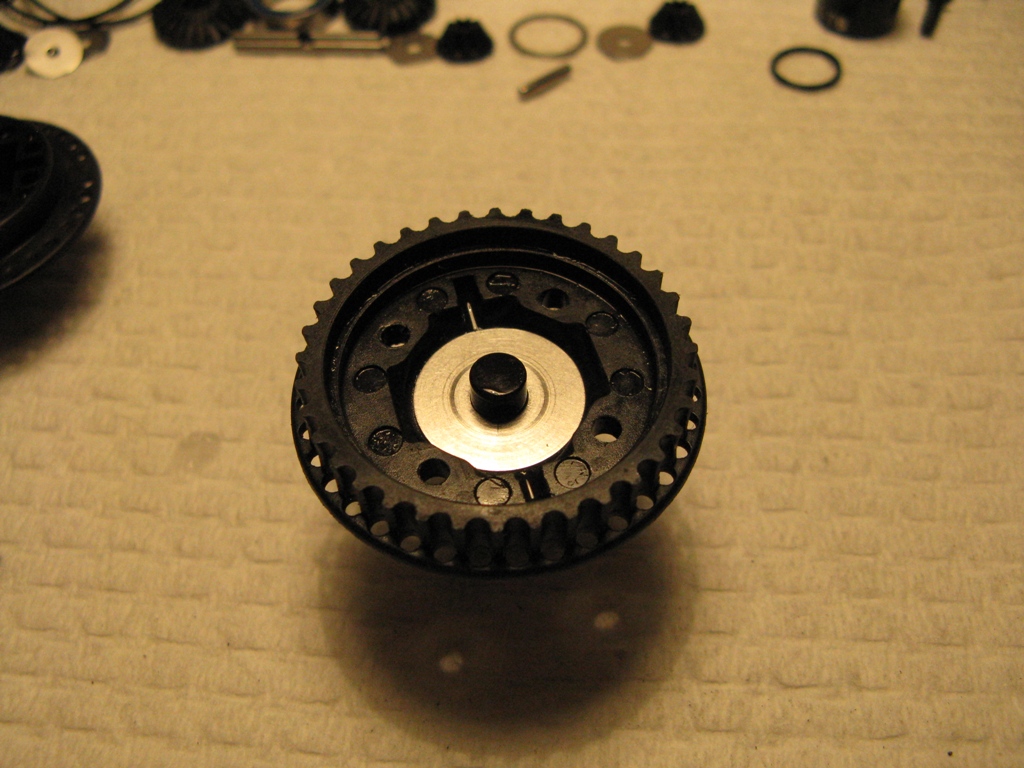
Next, place in the pinion gears, built up exactly as instrucions with a single shim behind each gear.
Pinion gears in
Then fill up the diff with your oil of choice (My go to is normally 2K MuchMore oil, although usually have 1k and 3K diffs also built up). You want to aim for just above the cross pins, which if you follow the Xray method of filling by using a set of scales, works out at about 0.8g of oil. This is a good consistent way to re-fill a diff, and should lead to minimal seepage from a rebuild. Make sure you add a few drops behind the pinion gears, and then let the diff sit for a little while to get any air bubbles out (or use a shock pump!).
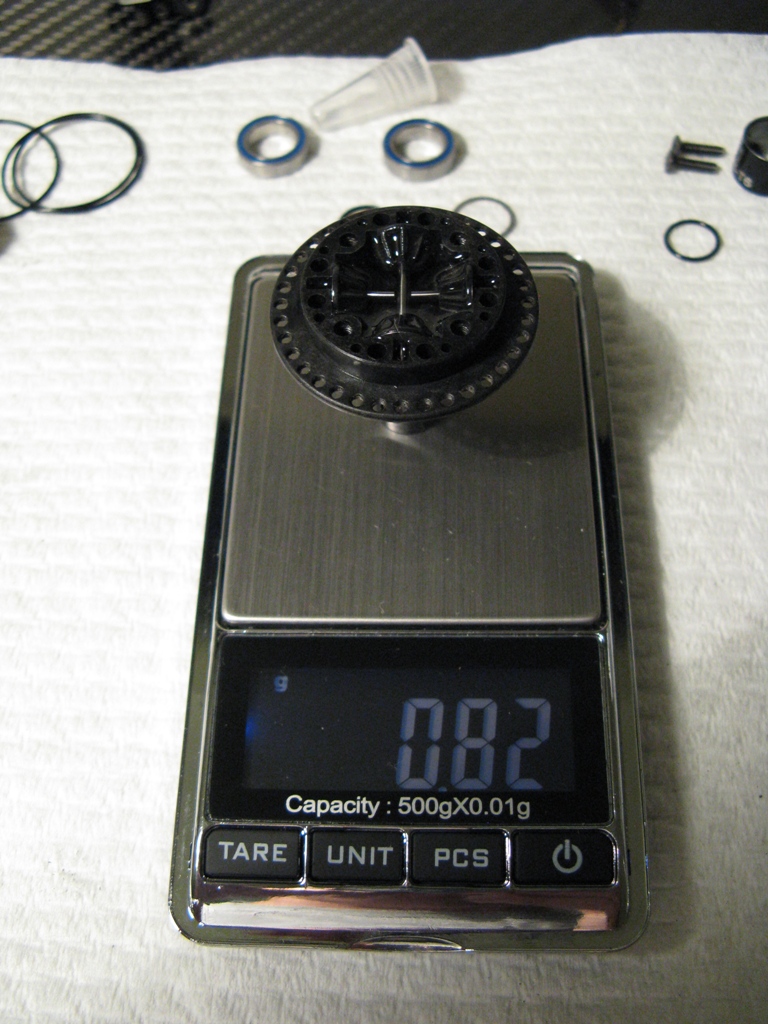
Oil Filling by weight
The last thing I do to help with fully sealing the diff is with the case O-rings. First off, use an extra O-ring, for three in total. Two O-rings don’t quite compress up against the toothed case side, which then means that oil can seap out. Adding an extra ring, means that the all compress when screwing the case together, which massively improves the seal. The other thing to do is add some thick greese onto the o-rings, which helps them to seat, and further improve the seal. I personally use Tamiya Hard damper grease (the pink stuff), although any heavy grease will do a similar job.

3 o-rings
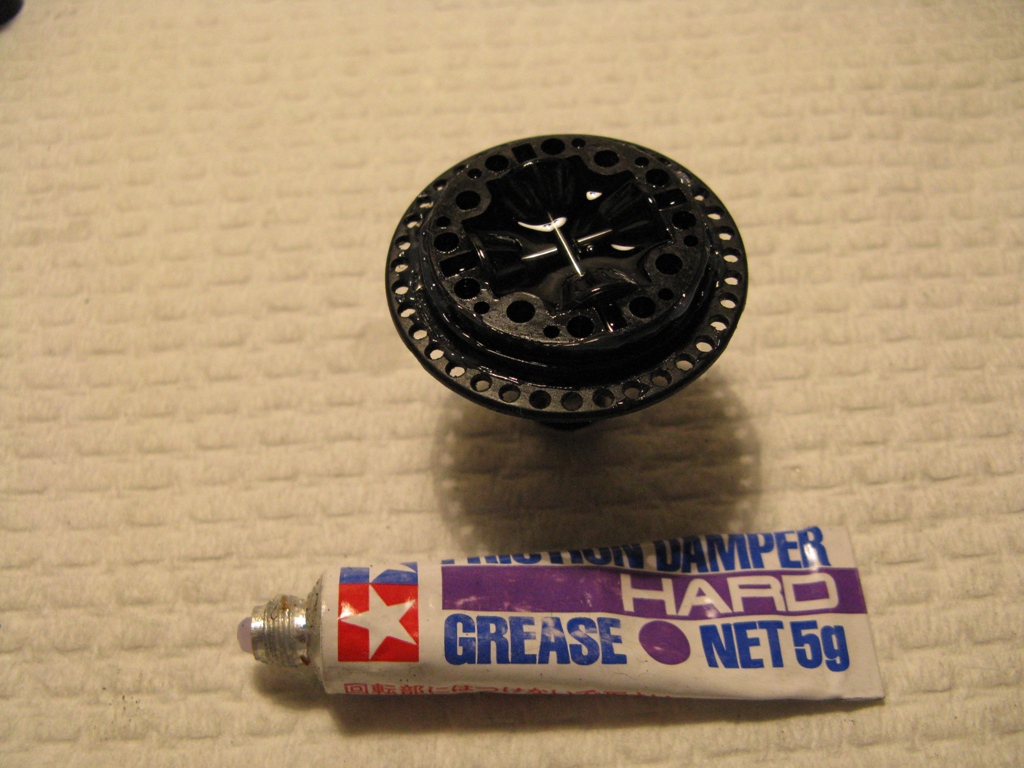
Hard Grease!
So now all that’s left is to screw the case together, which I tend to do in a cross pattern so as too close it evenly, and then add on the bearings, and outdrive sliders. I do also tend to add a 0.1mm x 10mm shim on one side of the diff before the bearings go on, so as to reduce a little the side to side play when mounted in the car.
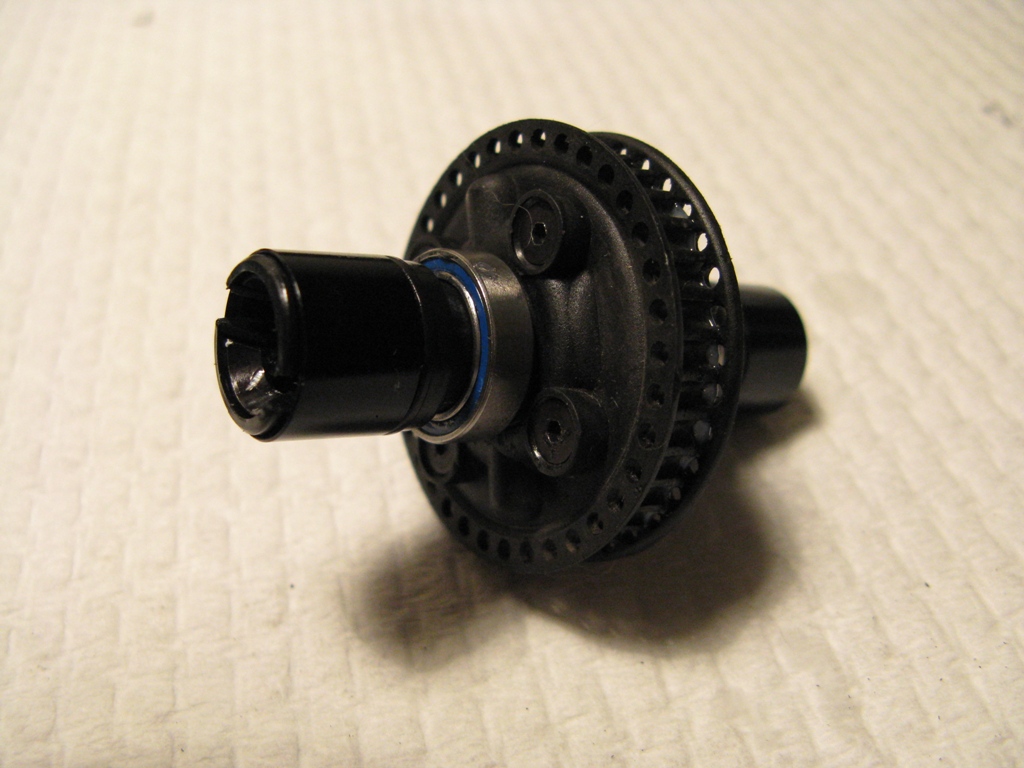
Fully Built
And thats it! A fully built diff that minimses any leaking, and feels good and consistent. Feel free to add any comments on the build. Ed